The Jefferson Squat is a unique compound exercise targeting the legs and core, performed with a barbell straddled between the legs. Unlike conventional squats, this exercise emphasizes rotational stability and unilateral strength, making it a versatile addition to any lower-body workout. Jefferson Squats help in building leg strength, improving balance, and enhancing overall athletic performance.
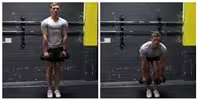
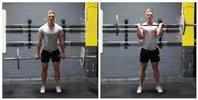
Jefferson Squat Video
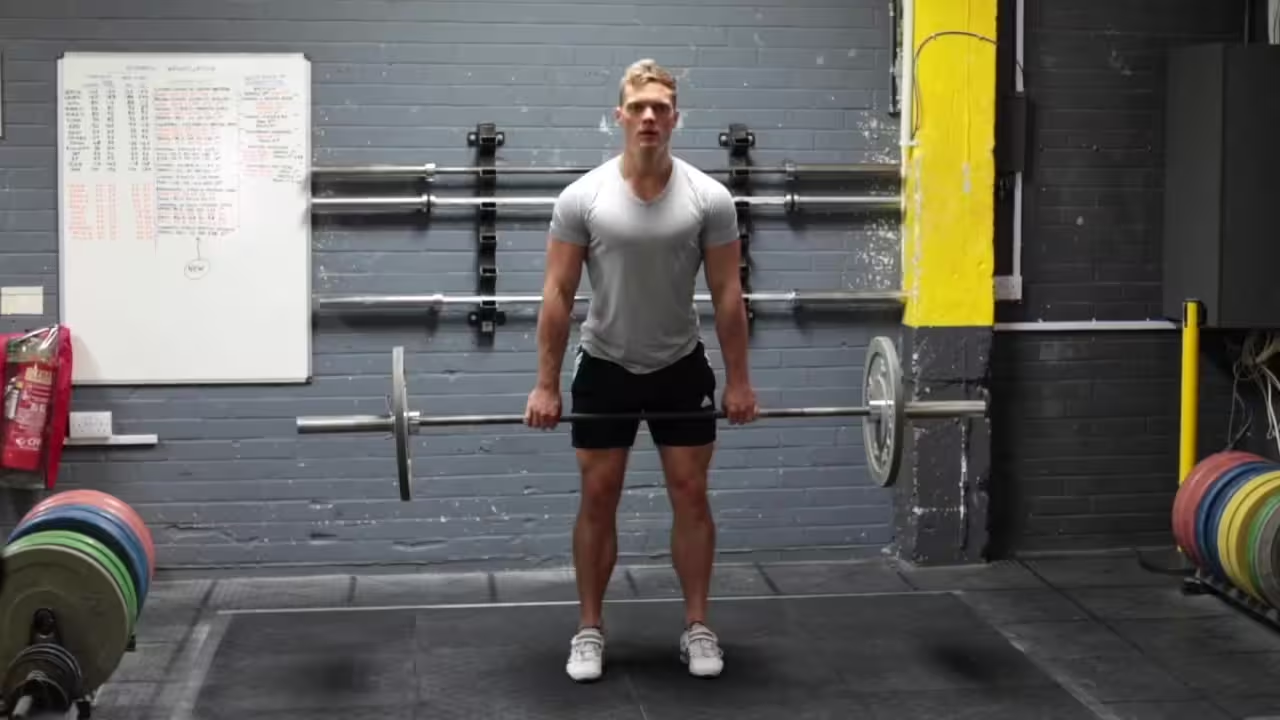
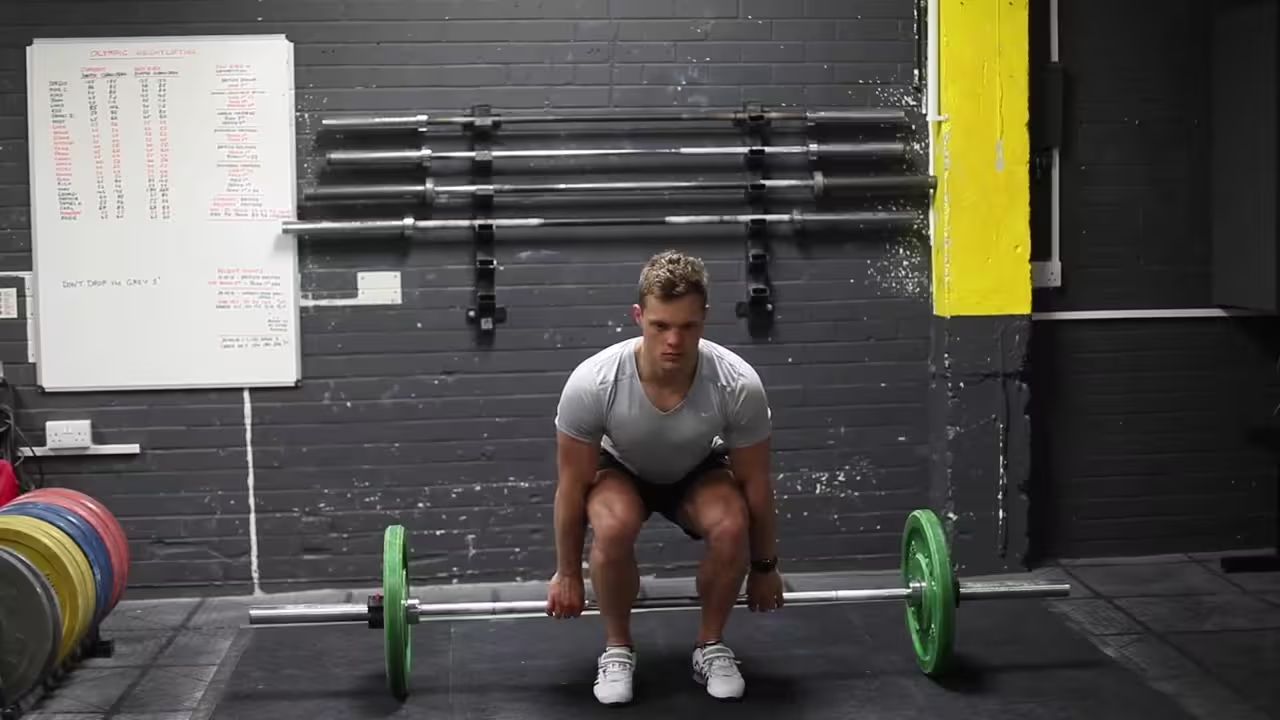
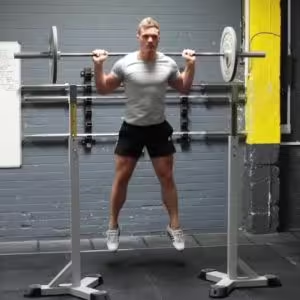
How to Perform Jefferson Squats
Step-by-Step Instructions:
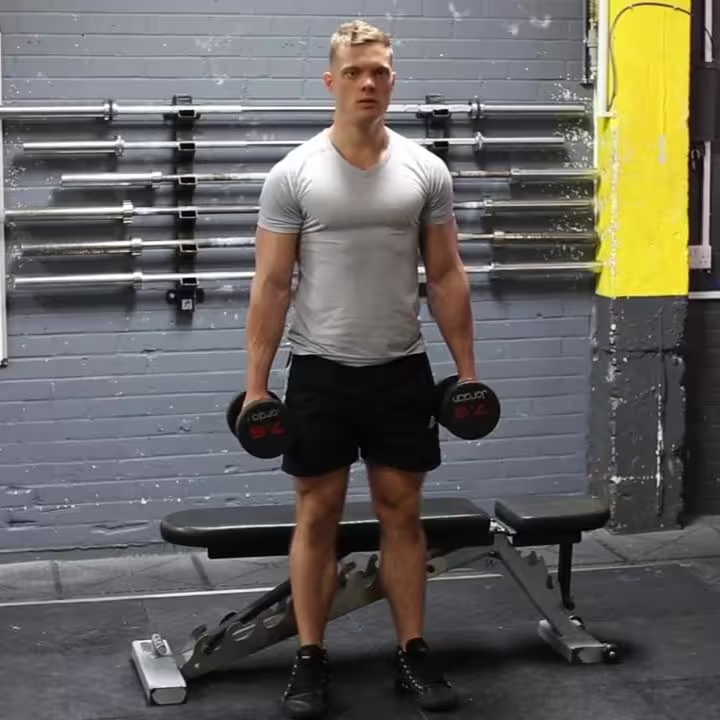
- Set Up the Barbell: Place a barbell on the floor and stand over it with your feet shoulder-width apart, one foot in front of the other.
- Grip the Barbell: Hold the barbell with both hands, using a mixed grip (one palm facing forward and the other facing backward).
- Engage Your Core: Tighten your core muscles to stabilize your torso throughout the movement.
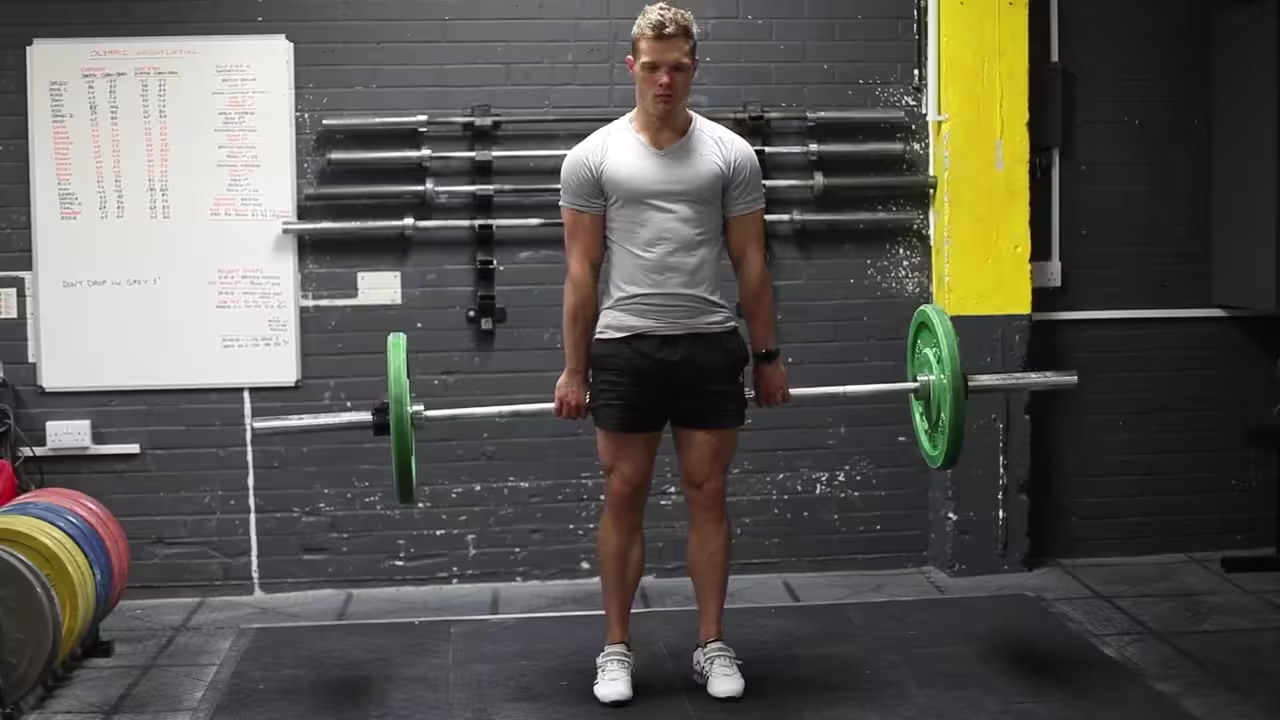
- Lift the Barbell: Push through your heels as you stand up, keeping your torso upright and the barbell balanced between your legs.
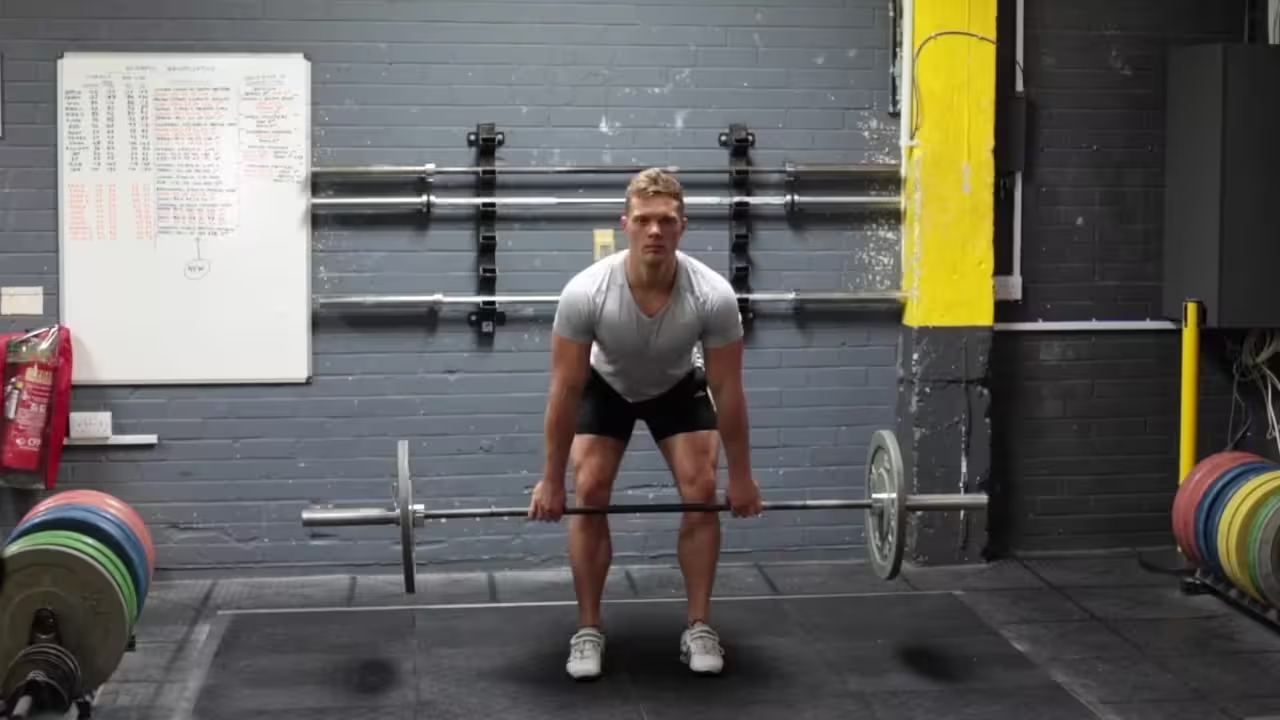
- Lower Slowly: Return to the starting position by bending your knees and hips, maintaining control over the movement.
- Complete the Reps: Repeat the exercise for your desired number of reps, alternating the foot position for balanced development.
Jefferson Squat Benefits
- Improved Core Stability: Jefferson Squats challenge your core due to the asymmetrical loading of the barbell.
- Enhanced Leg Strength: This exercise effectively targets the quads, hamstrings, and glutes, promoting lower-body strength.
- Increased Rotational Strength: By engaging rotational muscles, Jefferson Squats help improve balance and functional strength.
- Better Range of Motion: This movement encourages greater flexibility and mobility in the hips and lower back.
- Reduced Spinal Stress: The Jefferson Squat minimizes spinal compression compared to traditional barbell squats.
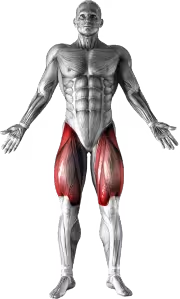
Jefferson Squat Muscles Worked
The Jefferson Squat targets the quads, hamstrings, and glutes, while also engaging the core, spinal erectors, and adductors. The asymmetrical position also activates stabilizing muscles for better balance and coordination.
Related Exercises
8.5
Excellent
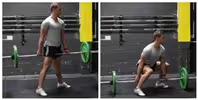
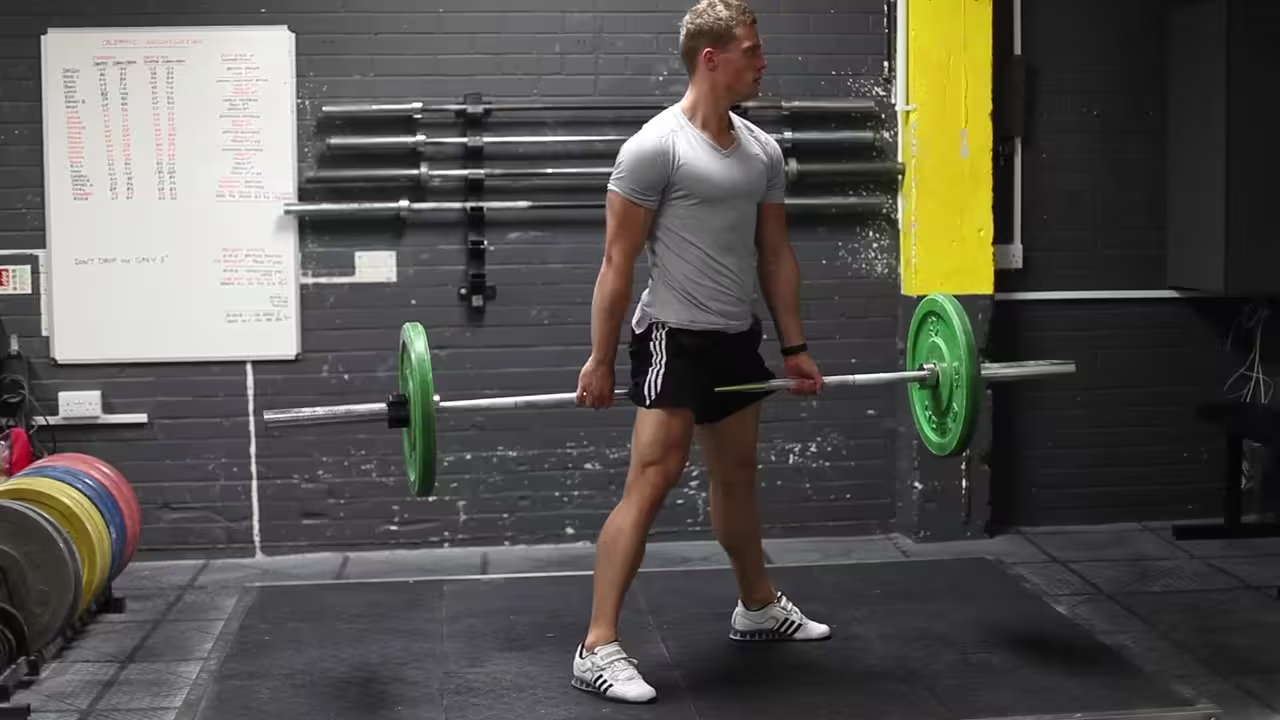
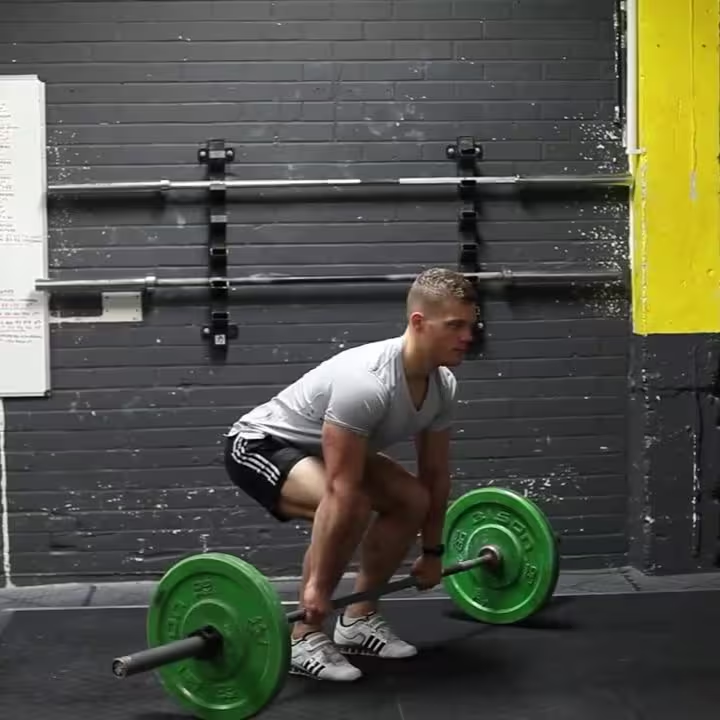
Hang Clean - Below the Knees Images
Hang Clean - Below the Knees Instructions
- Begin with a shoulder width, double overhand or hook grip, with the bar hanging just below the knees. Your back should be straight and inclined slightly forward.
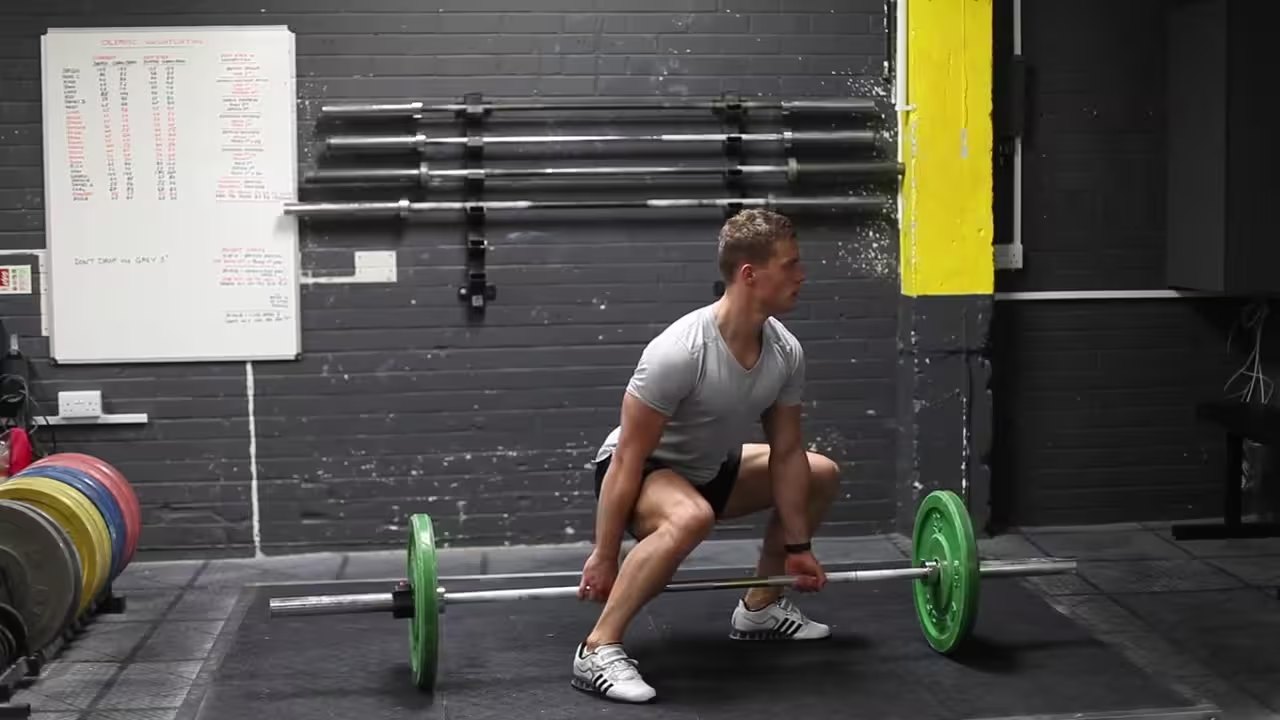
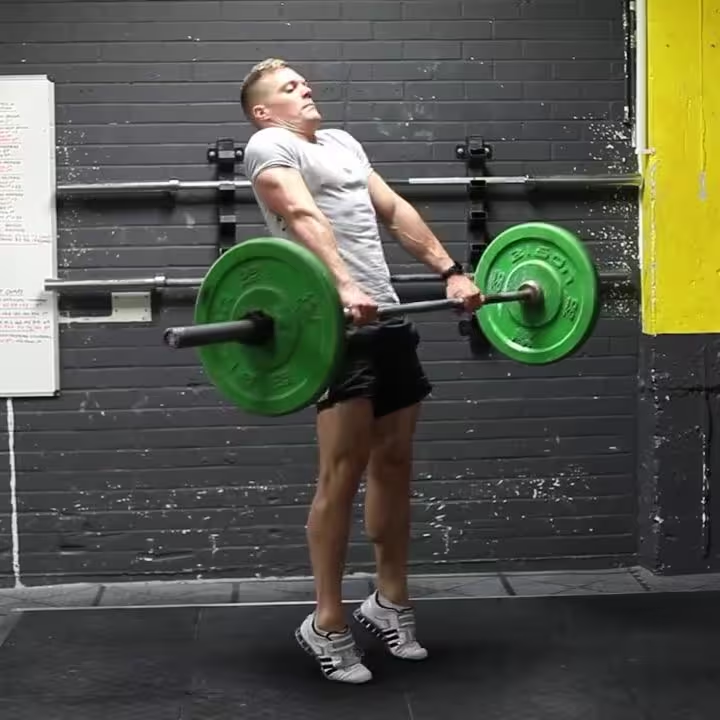
- Begin by aggressively extending through the hips, knees and ankles, driving the weight upward. As you do so, shrug your shoulders towards your ears. As full extension is achieved, transition into the third pull by aggressively shrugging and flexing the arms with the elbows up and out.
- At peak extension, aggressively pull yourself down, rotating your elbows under the bar as you do so. Receive the bar in a front squat position, the depth of which is dependent upon the height of the bar at the end of the third pull. The bar should be racked onto the protracted shoulders, lightly touching the throat with the hands relaxed. Continue to descend to the bottom squat position, which will help in the recovery.
- Immediately recover by driving through the heels, keeping the torso upright and elbows up. Continue until you have risen to a standing position.
7.7
Good
Also known as Hands-Free Front Squat.
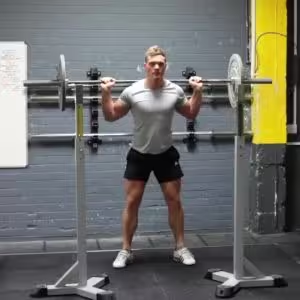
Frankenstein Squat Images
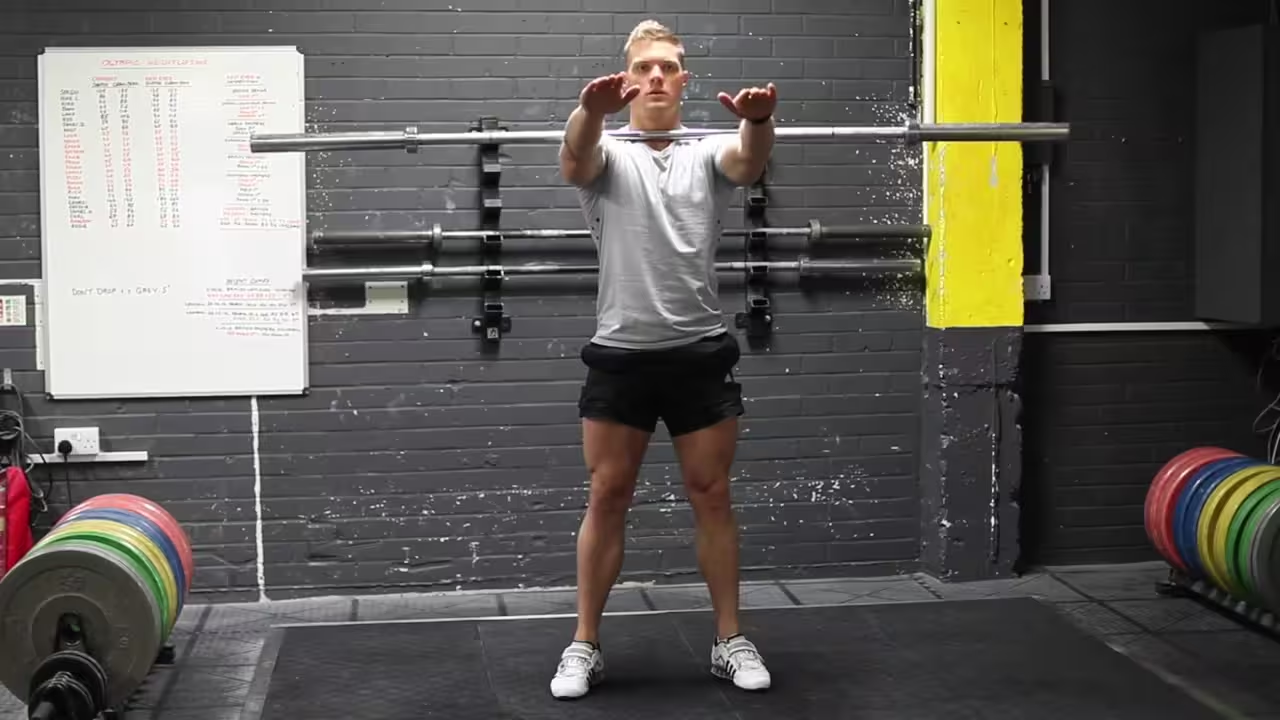
Frankenstein Squat Instructions
- This drill teaches you the proper positioning of both the bar and your body during the clean and front squat.
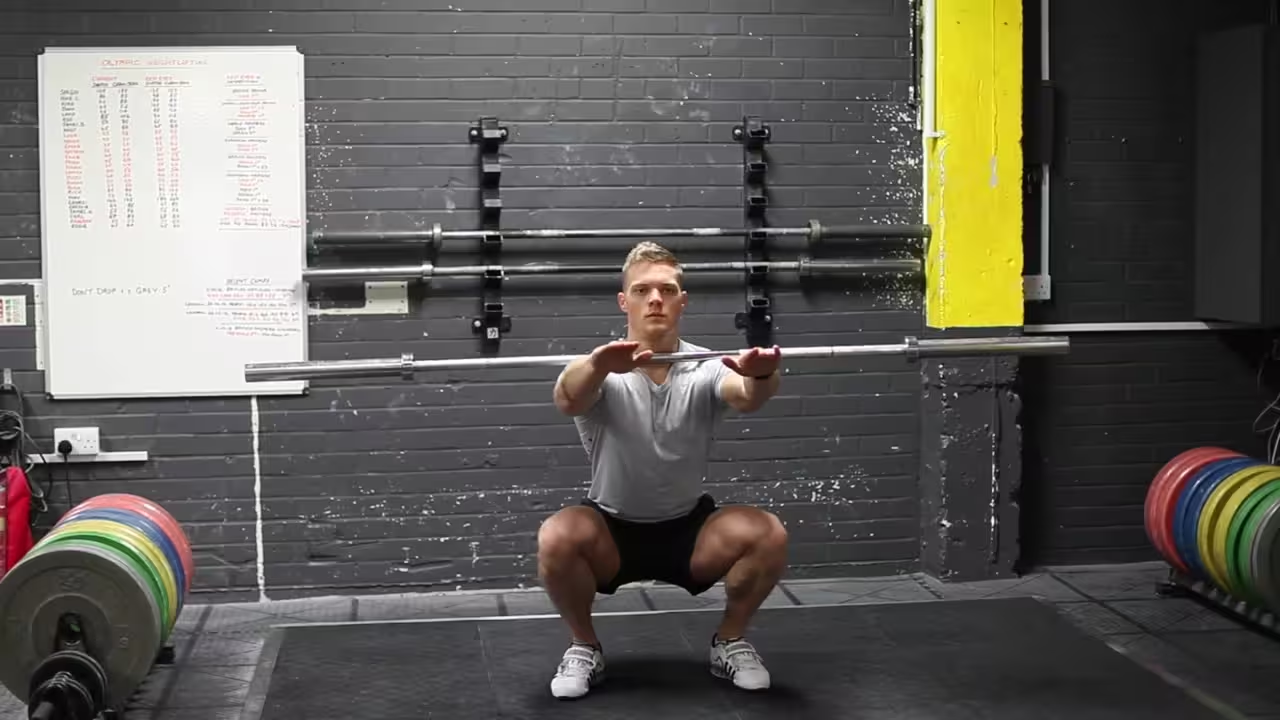
- Place the barbell on the front of the shoulders, releasing your grip and extending your arms out in front of you. The shoulders should be pushed forward to create a shelf, and the bar should be in contact with the throat. Ensure that you only move your shoulder blades forward; don’t round the thoracic spine.
- Squat by flexing the knees and hips, sitting in between your legs. Keep the torso upright, the arms up, and the shoulders forward, and the bar should stay in place. Go to the bottom of the squat, until your hamstrings contact your calves.
- Return to the upright position by driving through the front of the heel and extending the knees and hips.
8.2
Excellent
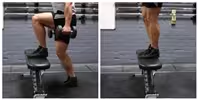
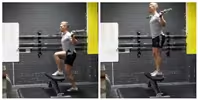
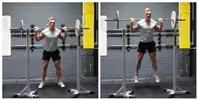
Dumbbell Step Ups Images
Dumbbell Step Ups Instructions
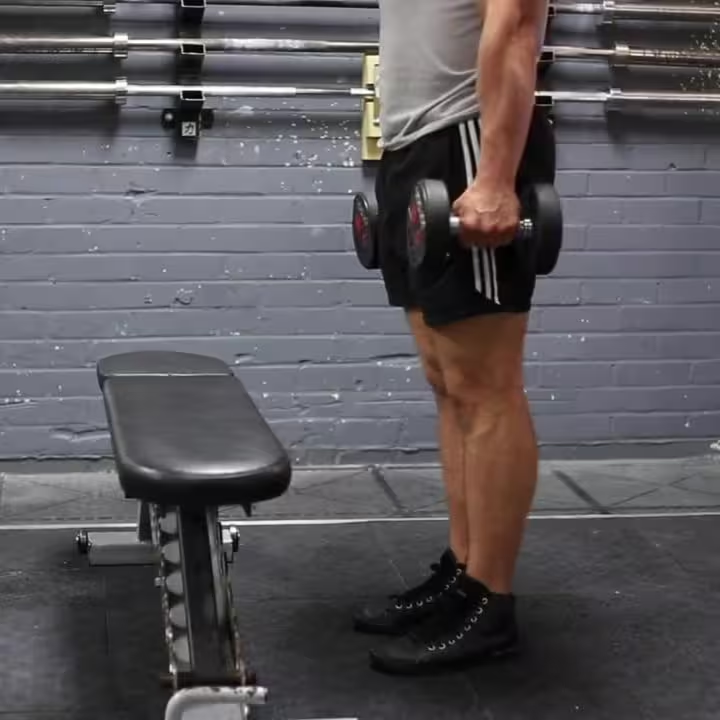
- Stand up straight while holding a dumbbell on each hand (palms facing the side of your legs).
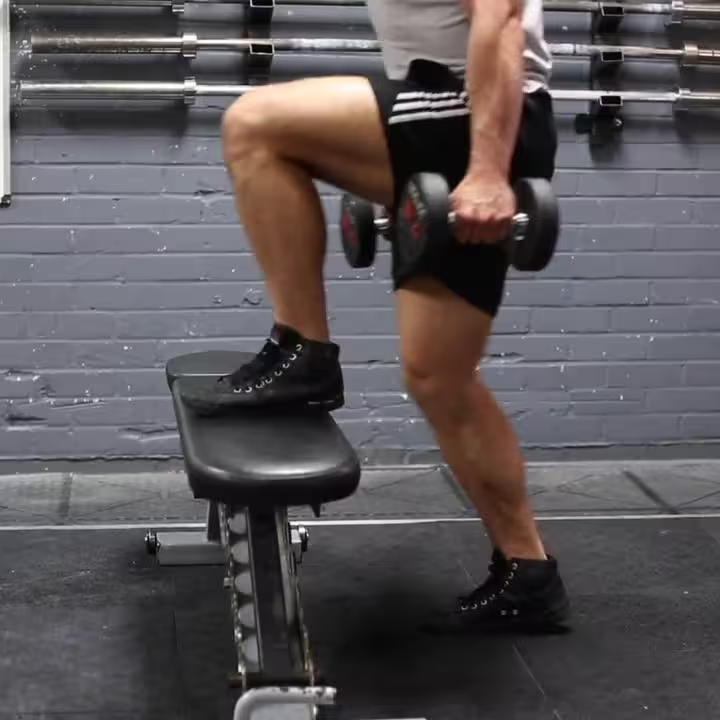
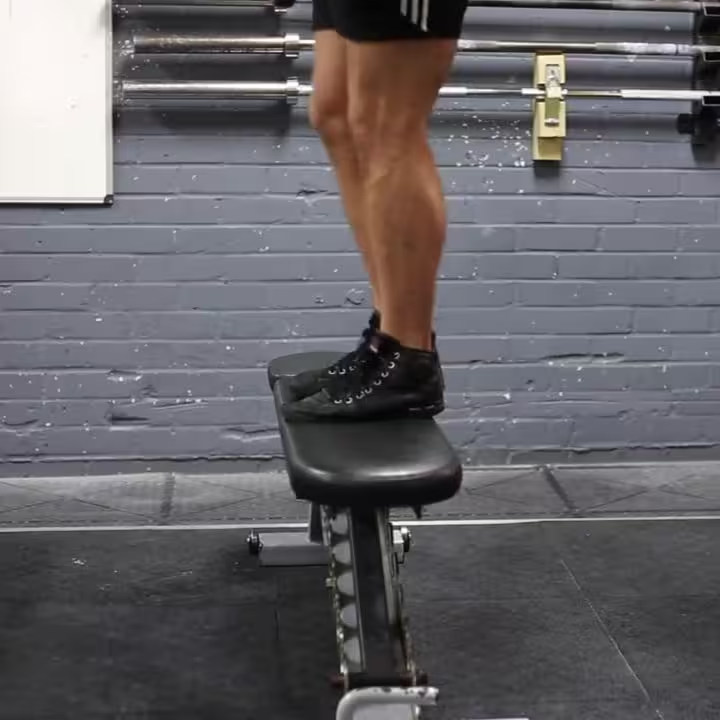
- Place the right foot on the elevated platform. Step on the platform by extending the hip and the knee of your right leg. Use the heel mainly to lift the rest of your body up and place the foot of the left leg on the platform as well. Breathe out as you execute the force required to come up.
- Step down with the left leg by flexing the hip and knee of the right leg as you inhale. Return to the original standing position by placing the right foot of to next to the left foot on the initial position.
- Repeat with the right leg for the recommended amount of repetitions and then perform with the left leg.
7
Good
Dumbbell Squat To A Bench Images

Dumbbell Squat To A Bench Instructions
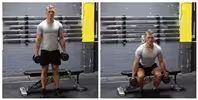
- Stand up straight with a flat bench behind you while holding a dumbbell on each hand (palms facing the side of your legs).
- Position your legs using a shoulder width medium stance with the toes slightly pointed out. Keep your head up at all times as looking down will get you off balance and also maintain a straight back. This will be your starting position. Note: For the purposes of this discussion we will use the medium stance described above which targets overall development; however you can choose any of the three stances discussed in the foot stances section.
- Begin to slowly lower your torso by bending the knees as you maintain a straight posture with the head up. Continue down until you slightly touch the bench behind you. Inhale as you perform this portion of the movement. Tip: If you performed the exercise correctly, the front of the knees should make an imaginary straight line with the toes that is perpendicular to the front. If your knees are past that imaginary line (if they are past your toes) then you are placing undue stress on the knee and the exercise has been performed incorrectly.
- Begin to raise the bar as you exhale by pushing the floor with the heel of your foot mainly as you straighten the legs again and go back to the starting position.
- Repeat for the recommended amount of repetitions.

8.3
Excellent
Dumbbell Seated Box Jump Images


Dumbbell Seated Box Jump Instructions
- Position a box a couple feet to the side of a bench. Hold a dumbbell to your chest with both hands and seat yourself on the bench facing the box. This will be your starting position.
- Plant your feet firmly on the ground as you lean forward, extending through the hips and knees to jump up and forward.
- Land on the box with both feet, absorbing the impact by allowing the hips and knees to bend.
- Step down and return to the starting position.

7.2
Good
Also known as Clean High Pull.
Clean Pull Images
Clean Pull Instructions
- With a barbell on the floor close to the shins, take an overhand or hook grip just outside the legs. Lower your hips with the weight focused on the heels, back straight, head facing forward, chest up, with your shoulders just in front of the bar. This will be your starting position.
- Begin the first pull by driving through the heels, extending your knees. Your back angle should stay the same, and your arms should remain straight and elbows out. Move the weight with control as you continue to above the knees.
- Next comes the second pull, the main source of acceleration for the clean. As the bar approaches the mid-thigh position, begin extending through the hips. In a jumping motion, accelerate by extending the hips, knees, and ankles, using speed to move the bar upward. There should be no need to actively pull through the arms to accelerate the weight; at the end of the second pull, the body should be fully extended, leaning slightly back, with the arms still extended. Full extension should be violent and abrupt, and ensure that you do not prolong the extension for longer than necessary.
8.7
Excellent
Barbell Step Ups Images
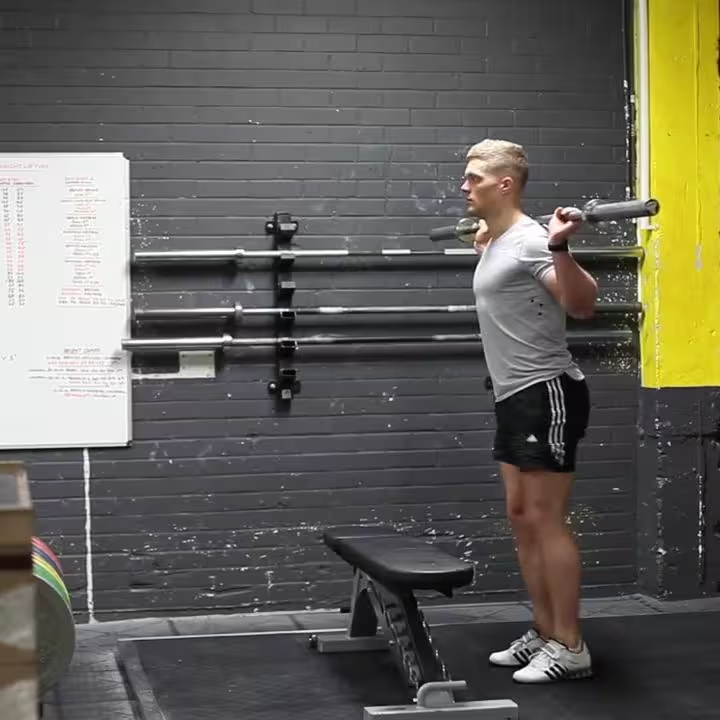
Barbell Step Ups Instructions
- Stand up straight while holding a barbell placed on the back of your shoulders (slightly below the neck) and stand upright behind an elevated platform (such as the one used for spotting behind a flat bench). This is your starting position.
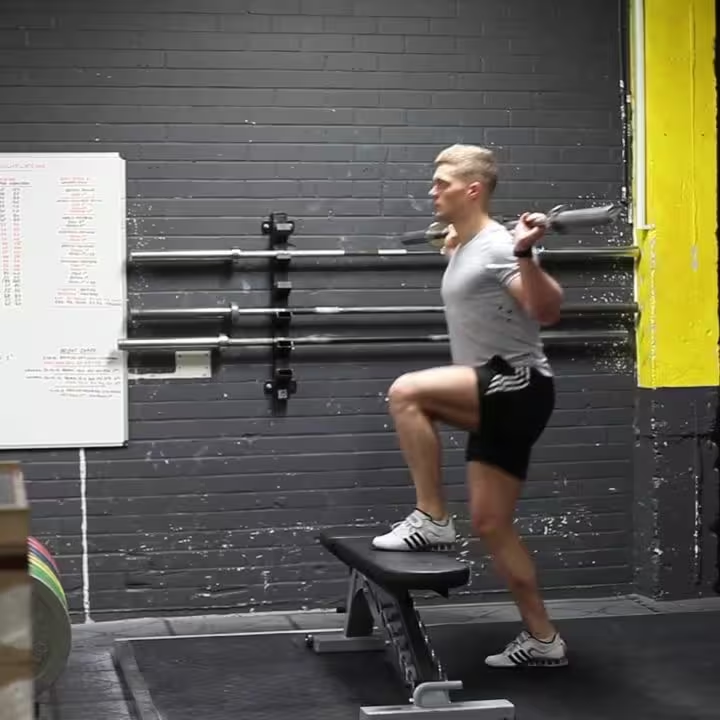
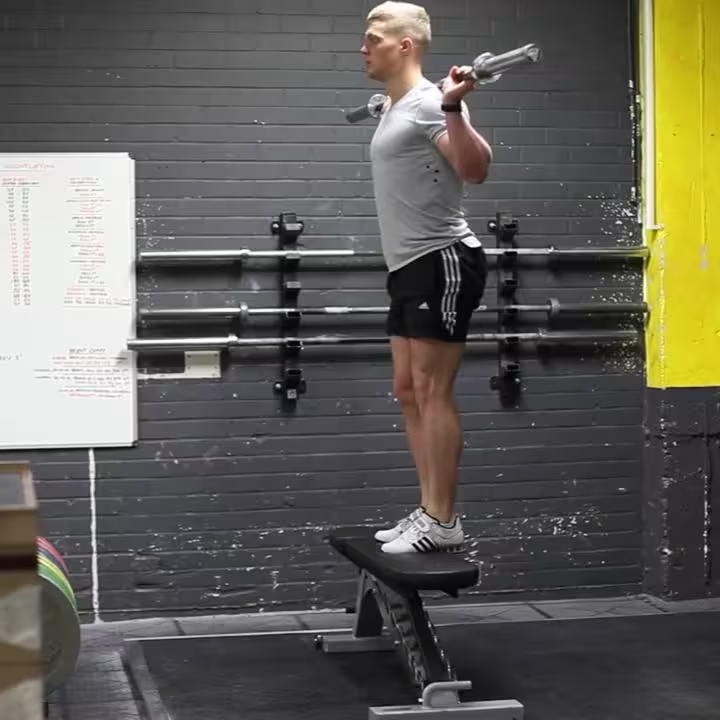
- Place the right foot on the elevated platform. Step on the platform by extending the hip and the knee of your right leg. Use the heel mainly to lift the rest of your body up and place the foot of the left leg on the platform as well. Breathe out as you execute the force required to come up.
- Step down with the left leg by flexing the hip and knee of the right leg as you inhale. Return to the original standing position by placing the right foot of to next to the left foot on the initial position.
- Repeat with the right leg for the recommended amount of repetitions and then perform with the left leg.
Note: This is a great exercise for people with lower back problems that are unable to do stiff legged deadlifts.
8.5
Excellent
Barbell Hack Squat Images
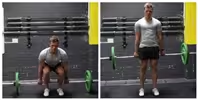
Barbell Hack Squat Instructions
- Stand up straight while holding a barbell behind you at arms length and your feet at shoulder width. Tip: A shoulder width grip is best with the palms of your hands facing back. You can use wrist wraps for this exercise for a better grip. This will be your starting position.
- While keeping your head and eyes up and back straight, squat until your upper thighs are parallel to the floor. Breathe in as you slowly go down.
- Pressing mainly with the heel of the foot and squeezing the thighs, go back up as you breathe out.
- Repeat for the recommended amount of repetitions.
9
Excellent
Weighted Jump Squat Images

Weighted Jump Squat Instructions
- Position a lightly loaded barbell across the back of your shoulders. You could also use a weighted vest, sandbag, or other type of resistance for this exercise.
- The weight should be light enough that it doesn’t slow you down significantly. Your feet should be just outside of shoulder width with your head and chest up. This will be your starting position.
- Using a countermovement, squat partially down and immediately reverse your direction to explode off of the ground, extending through your hips, knees, and ankles. Maintain good posture throughout the jump.
- As you return to the ground, absorb the impact through your legs.