16
Jul
8.5
Excellent
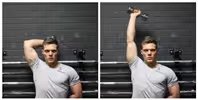
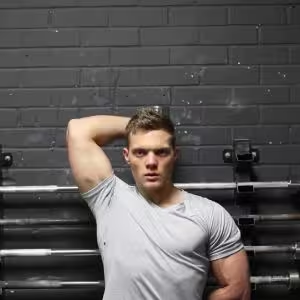
Dumbbell One-Arm Triceps Extension Images

Dumbbell One-Arm Triceps Extension Instructions
- Grab a dumbbell and either sit on a military press bench or a utility bench that has a back support on it as you place the dumbbells upright on top of your thighs or stand up straight.
- Clean the dumbbell up to bring it to shoulder height and then extend the arm over your head so that the whole arm is perpendicular to the floor and next to your head. The dumbbell should be on top of you. The other hand can be kept fully extended to the side, by the waist, supporting the upper arm that has the dumbbell or grabbing a fixed surface.
- Rotate the wrist so that the palm of your hand is facing forward and the pinkie is facing the ceiling. This will be your starting position.
- Slowly lower the dumbbell behind your head as you hold the upper arm stationary. Inhale as you perform this movement and pause when your triceps are fully stretched.
- Return to the starting position by flexing your triceps as you breathe out. Tip: It is imperative that only the forearm moves. The upper arm should remain at all times stationary next to your head.
- Repeat for the recommended amount of repetitions and switch arms.

13
Jul
9
Excellent
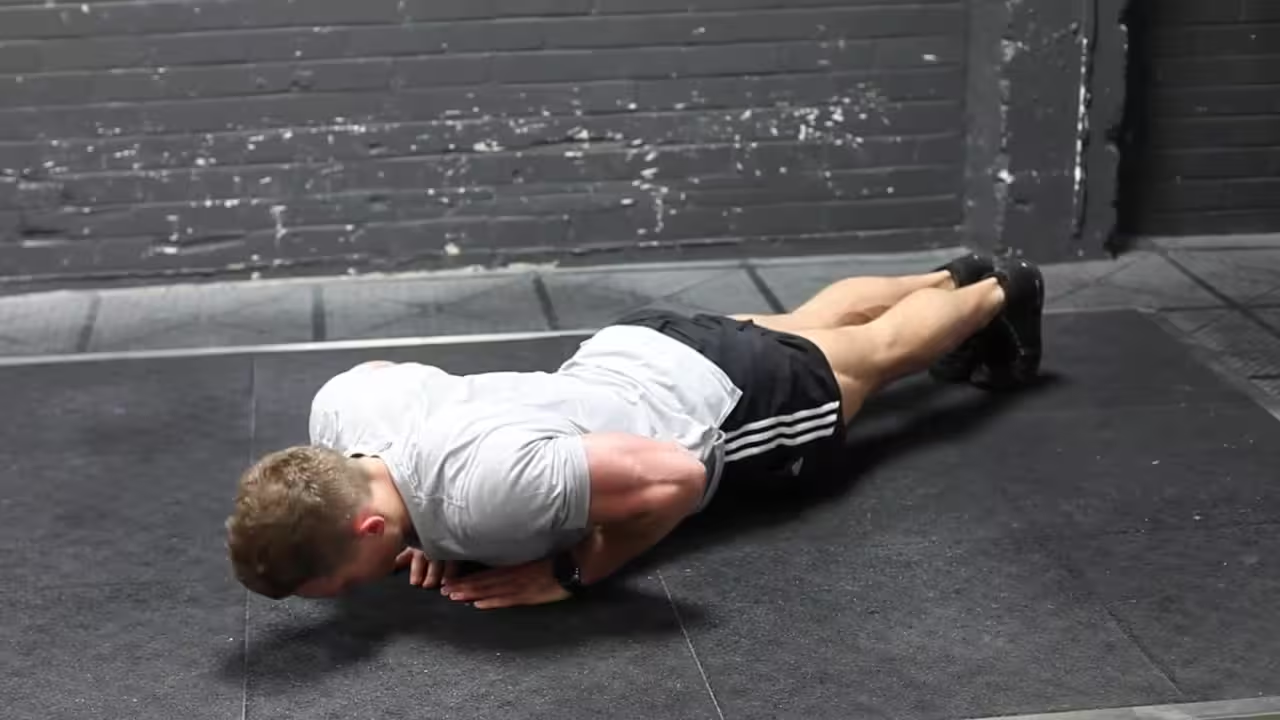
Push-Ups - Close Triceps Position Images
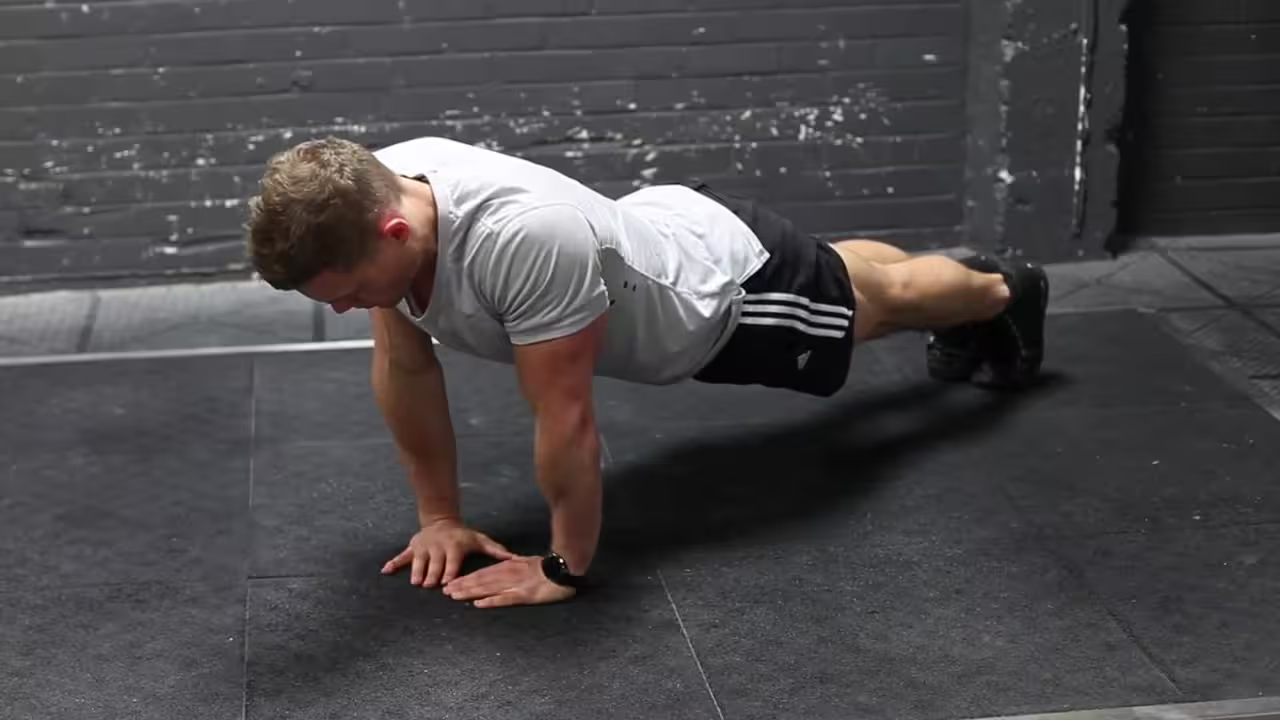
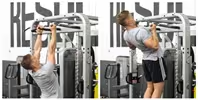
Push-Ups - Close Triceps Position Instructions
- Lie on the floor face down and place your hands closer than shoulder width for a close hand position. Make sure that you are holding your torso up at arms’ length.
- Lower yourself until your chest almost touches the floor as you inhale.
- Using your triceps and some of your pectoral muscles, press your upper body back up to the starting position and squeeze your chest. Breathe out as you perform this step.
- After a second pause at the contracted position, repeat the movement for the prescribed amount of repetitions.
13
Jul
9.3
Excellent
Dumbbell Floor Press Images
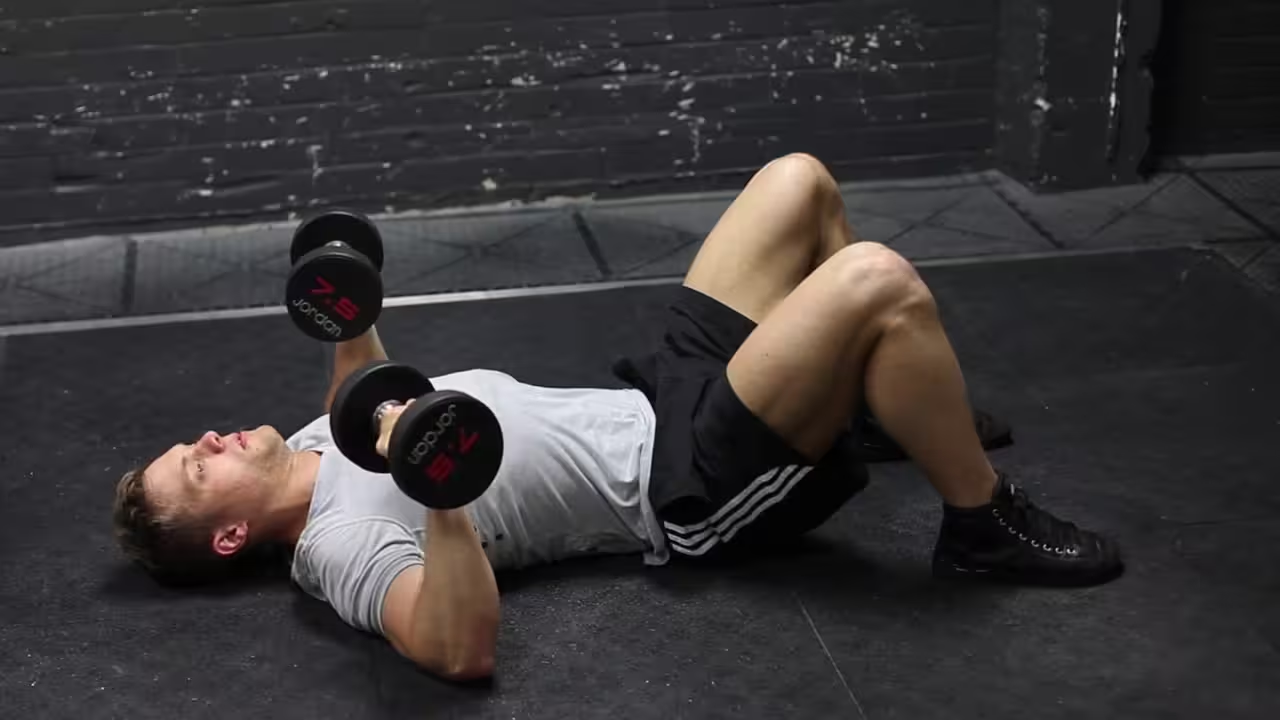
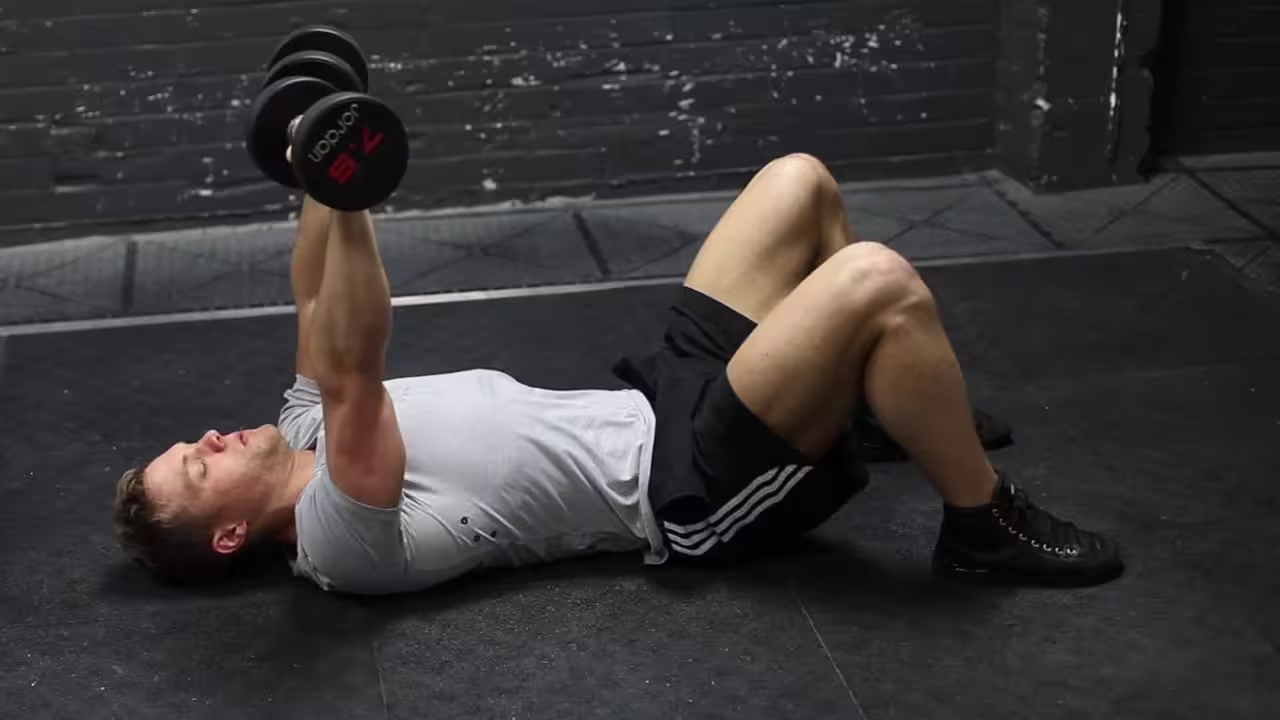
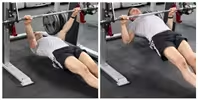
Dumbbell Floor Press Instructions
- Lay on the floor holding dumbbells in your hands. Your knees can be bent. Begin with the weights fully extended above you.
- Lower the weights until your upper arm comes in contact with the floor. You can tuck your elbows to emphasize triceps size and strength, or to focus on your chest angle your arms to the side.
- Pause at the bottom, and then bring the weight together at the top by extending through the elbows.
10
Jul
8.9
Excellent
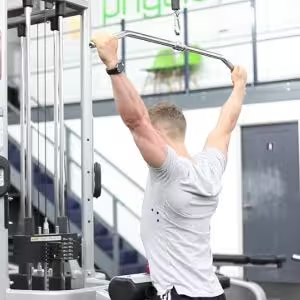
Wide-Grip Pull-Up Images
Wide-Grip Pull-Up Instructions
- Take a wide grip on a pull-up bar, hanging freely with your arms extended. This will be your starting position.
- Pull yourself up by flexing the elbows and adducting the glenohumeral joint. Do not swing or use momentum to complete the movement. Attempt to get your chin above your hands.
- Pause at the top of the motion before lowering yourself to the starting position.
10
Jul
7.1
Good
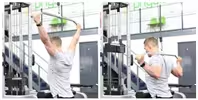
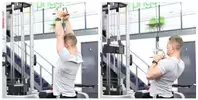
Wide-Grip Pulldown Behind The Neck Images
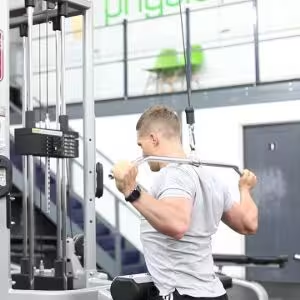
Wide-Grip Pulldown Behind The Neck Instructions
- Sit down on a pull-down machine with a wide bar attached to the top pulley. Make sure that you adjust the knee pad of the machine to fit your height. These pads will prevent your body from being raised by the resistance attached to the bar.
- Grab the bar with the palms facing forward using the prescribed grip. Note on grips: For a wide grip, your hands need to be spaced out at a distance wider than your shoulder width. For a medium grip, your hands need to be spaced out at a distance equal to your shoulder width and for a close grip at a distance smaller than your shoulder width.
- As you have both arms extended in front of you holding the bar at the chosen grip width, bring your torso and head forward. Think of an imaginary line from the center of the bar down to the back of your neck. This is your starting position.
- As you breathe out, bring the bar down until it touches the back of your neck by drawing the shoulders and the upper arms down and back. Tip: Concentrate on squeezing the back muscles once you reach the full contracted position. The upper torso should remain stationary and only the arms should move. The forearms should do no other work except for holding the bar; therefore do not try to pull down the bar using the forearms.
- After a second on the contracted position squeezing your shoulder blades together, slowly raise the bar back to the starting position when your arms are fully extended and the lats are fully stretched. Inhale during this portion of the movement.
- Repeat this motion for the prescribed amount of repetitions.
10
Jul
9.5
Excellent
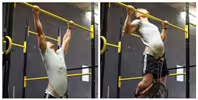
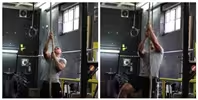
Weighted Pull Ups Images
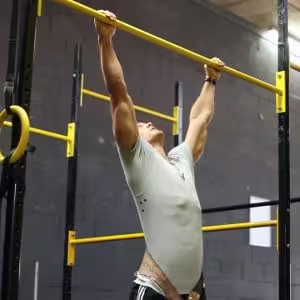
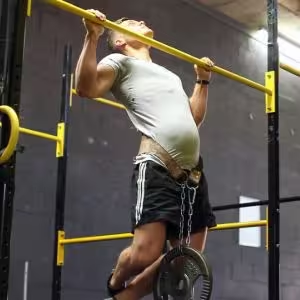
Weighted Pull Ups Instructions
- Attach a weight to a dip belt and secure it around your waist. Grab the pull-up bar with the palms of your hands facing forward. For a medium grip, your hands should be spaced at shoulder width. Both arms should be extended in front of you holding the bar at the chosen grip.
- You’ll want to bring your torso back about 30 degrees while creating a curvature in your lower back and sticking your chest out. This will be your starting position.
- Now, exhale and pull your torso up until your head is above your hands. Concentrate on squeezing your shoulder blades back and down as you reach the top contracted position.
- After a brief moment at the top contracted position, inhale and slowly lower your torso back to the starting position with your arms extended and your lats fully stretched.
10
Jul
8.9
Excellent
V-Bar Pulldown Images

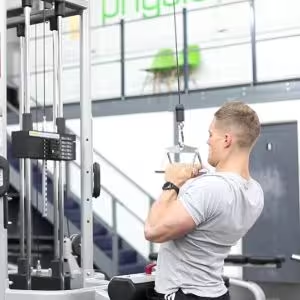
V-Bar Pulldown Instructions
- Sit down on a pull-down machine with a V-Bar attached to the top pulley.
- Adjust the knee pad of the machine to fit your height. These pads will prevent your body from being raised by the resistance attached to the bar.
- Grab the V-bar with the palms facing each other (a neutral grip). Stick your chest out and lean yourself back slightly (around 30-degrees) in order to better engage the lats. This will be your starting position.
- Using your lats, pull the bar down as you squeeze your shoulder blades. Continue until your chest nearly touches the V-bar. Exhale as you execute this motion. Tip: Keep the torso stationary throughout the movement.
- After a second hold on the contracted position, slowly bring the bar back to the starting position as you breathe in.
- Repeat for the prescribed number of repetitions.
10
Jul
8.7
Excellent
Rope Climb Images
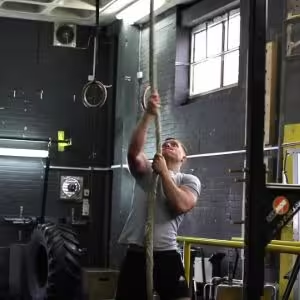
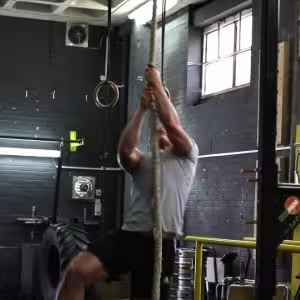
Rope Climb Instructions
- Grab the rope with both hands above your head. Pull down on the rope as you take a small jump.
- Wrap the rope around one leg, using your feet to pinch the rope. Reach up as high as possible with your arms, gripping the rope tightly.
- Release the rope from your feet as you pull yourself up with your arms, bringing your knees towards your chest.
- Resecure your feet on the rope, and then stand up to take another high hold on the rope. Continue until you reach the top of the rope.
- To lower yourself, loosen the grip of your feet on the rope as you slide down using a hand over hand motion.
10
Jul
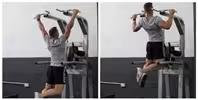
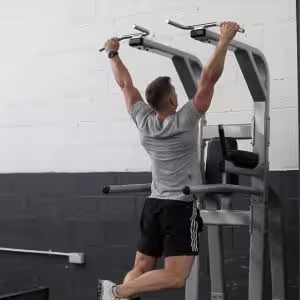
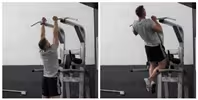
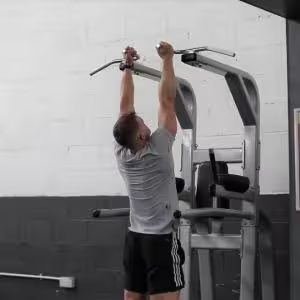
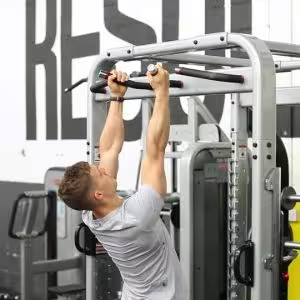
The Neutral Grip Pull-Up is an effective bodyweight exercise that targets the upper back, shoulders, and arms, specifically engaging the biceps and forearms. Performed using a neutral (palms-facing) grip, this variation reduces strain on the shoulders and wrists, making it an excellent option for those with shoulder discomfort or limited mobility. Neutral Grip Pull-Ups help to build upper body strength and endurance, making them a valuable addition to any fitness routine.
Neutral Grip Pull-Up Video
How to Perform Neutral Grip Pull-Ups
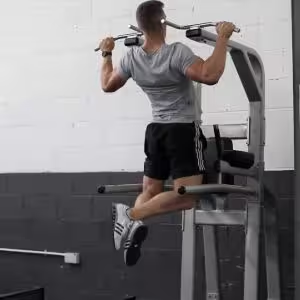
Neutral Grip Pull-Up Images
Step-by-Step Instructions:
- Set Up the Pull-Up Bar: Find a pull-up bar with a neutral grip handle or two parallel handles at shoulder-width.
- Engage Your Core: Hang from the handles with your arms fully extended, ensuring your core is engaged and your body is in a straight line.
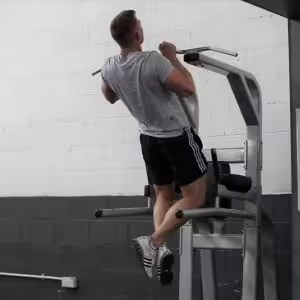
- Pull Up: Pull your body upwards by bending your elbows and squeezing your shoulder blades together, lifting your chin above the bar.
- Lower Slowly: Lower your body back down with control, fully extending your arms without swinging.
- Complete the Reps: Repeat the movement for the desired number of reps, maintaining good form throughout.
Neutral Grip Pull-Up Benefits
- Increased Upper Body Strength: Neutral Grip Pull-Ups target the back, biceps, and shoulders, improving overall upper body strength.
- Improved Grip Strength: The neutral grip position also enhances forearm and grip strength, beneficial for other lifts and daily activities.
- Joint-Friendly: This grip reduces shoulder and wrist strain compared to other pull-up variations, making it ideal for those with shoulder issues.
- Increased Muscle Activation: The neutral grip helps recruit more muscles in the back and arms, leading to better muscle engagement and growth.
- Enhanced Posture: Stronger back muscles from regular neutral grip pull-ups improve posture and spinal alignment.
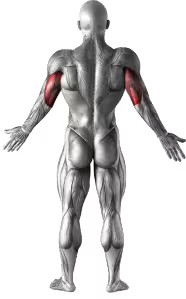
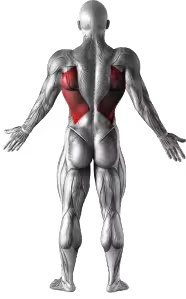
Neutral Grip Pull-Up Muscles Worked
Targeted Muscles
The Neutral Grip Pull-Up primarily targets the latissimus dorsi (lats), biceps, and rhomboids. It also engages the traps, deltoids, and forearm muscles, helping to strengthen and tone the entire upper back and arms.
Related Exercises
10
Jul
8.5
Excellent
Gironda Sternum Chins Images

Gironda Sternum Chins Instructions
- Grasp the pull-up bar with a shoulder width underhand grip.
- Now hang with your arms fully extended and stick your chest out and lean back. Tip: You will be leaning back throughout the entire movement. This will be your starting position.
- Start pulling yourself towards the bar with your spine arched throughout the movement and your head leaning back as far away from the bar as possible. Exhale as you perform this portion of the movement. Tip: At the upper end of the movement, your hips and legs will be at about a 45-degree angle to the floor.
- Keep pulling until your collarbone passes the bar and your lower chest or sternum area touches it. Hold that contraction for a second. Tip: By the time you’ve completed this portion of the movement; your head will be parallel to the floor.
- Slowly start going back to the starting position as you inhale.
- Repeat for the recommended amount of repetitions.