24
Jun
8.8
Excellent
Dumbbell Lying Pronation Images
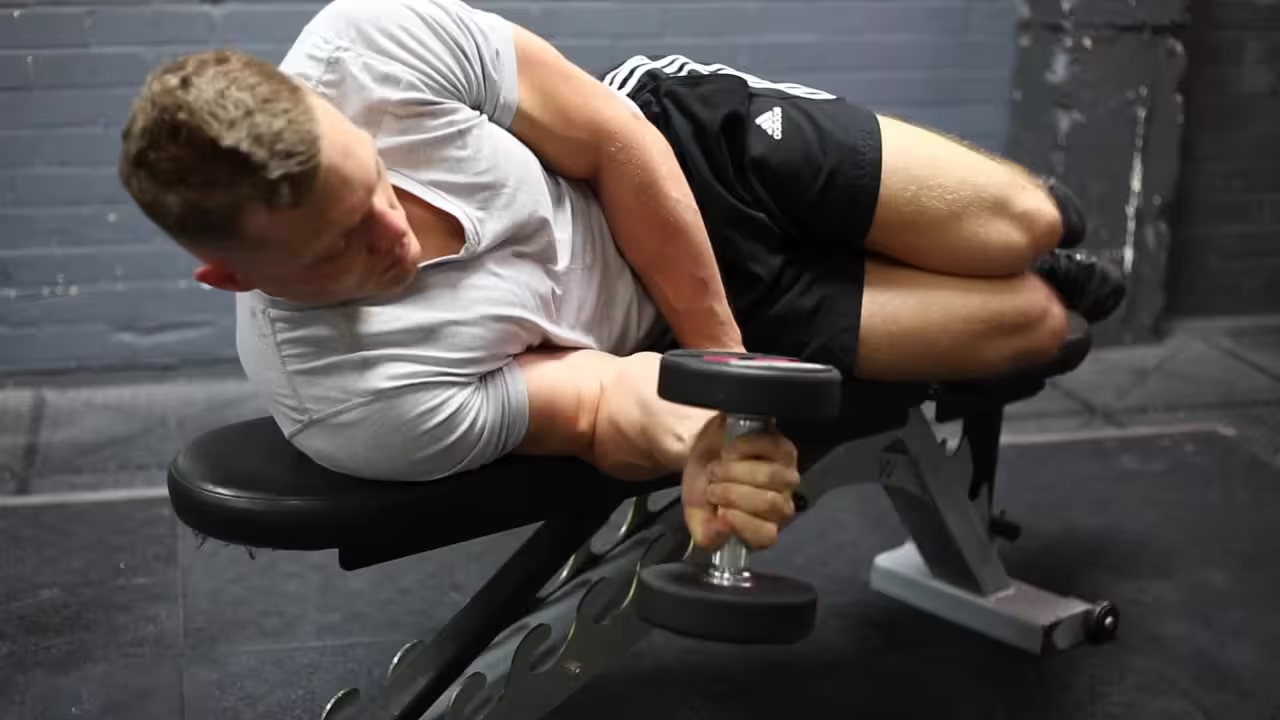
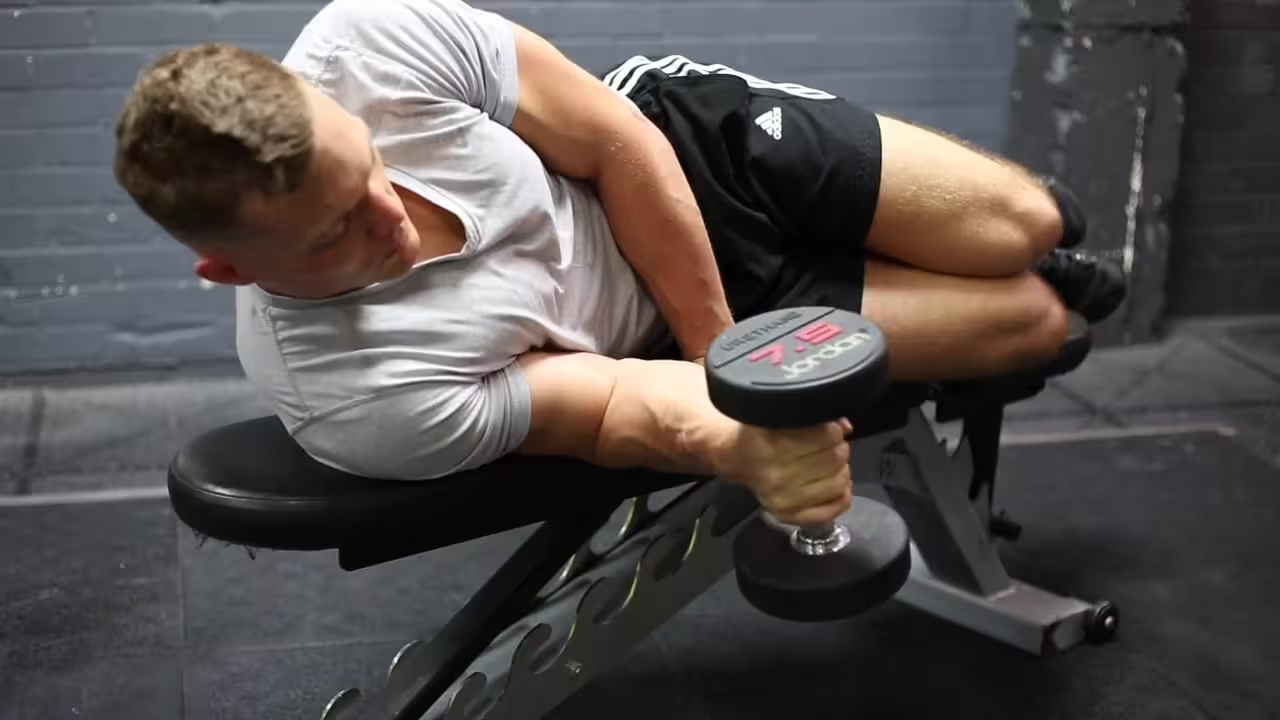
Dumbbell Lying Pronation Instructions
- Lie on a flat bench face down with one arm holding a dumbbell and the other hand on top of the bench folded so that you can rest your head on it.
- Bend the elbows of the arm holding the dumbbell so that it creates a 90-degree angle between the upper arm and the forearm.
- Now raise the upper arm so that the forearm is perpendicular to the floor and the upper arm is perpendicular to your torso. Tip: The upper arm should be parallel to the floor and also creating a 90-degree angle with your torso. This will be your starting position.
- As you breathe out, externally rotate your forearm so that the dumbbell is lifted forward as you maintain the 90 degree angle bend between the upper arms and the forearm. You will continue this external rotation until the forearm is parallel to the floor. At this point you will hold the contraction for a second.
- As you breathe in, slowly go back to the starting position.
- Repeat for the recommended amount of repetitions.
24
Jun
Weighted%20Ball%20Hyperextension
8.3
Excellent
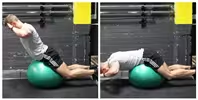
Weighted Ball Hyperextension Images
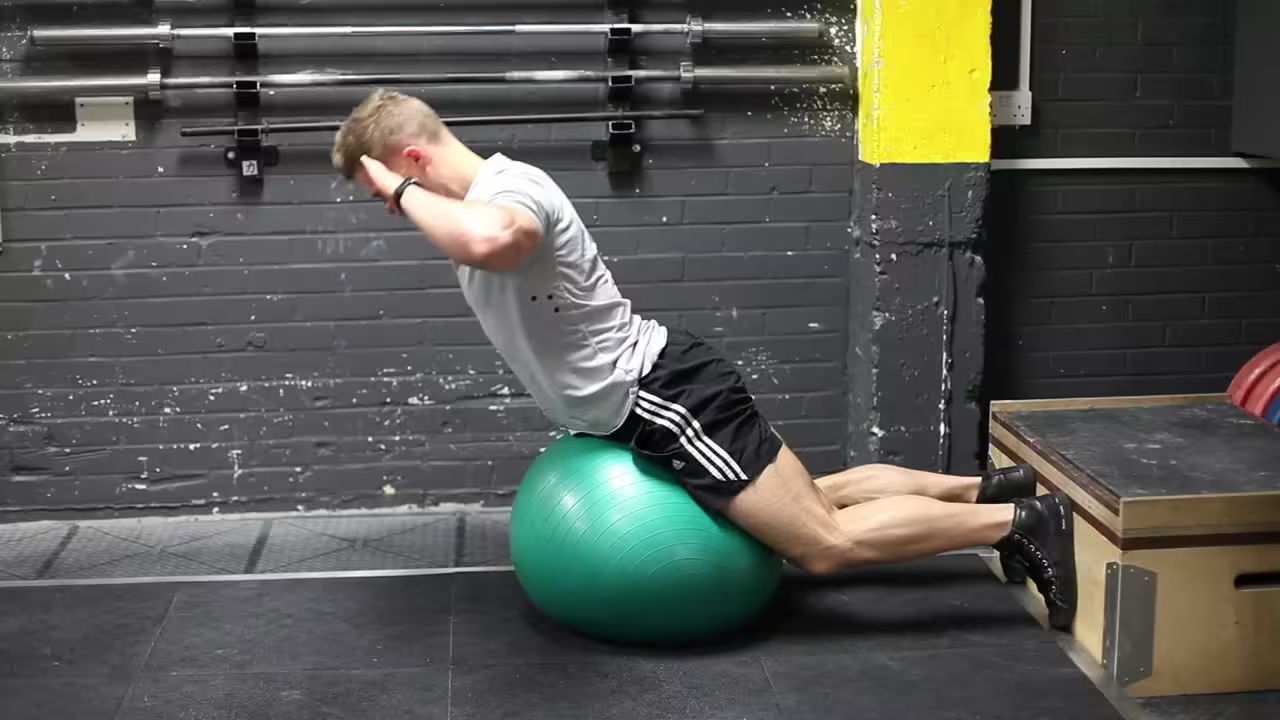
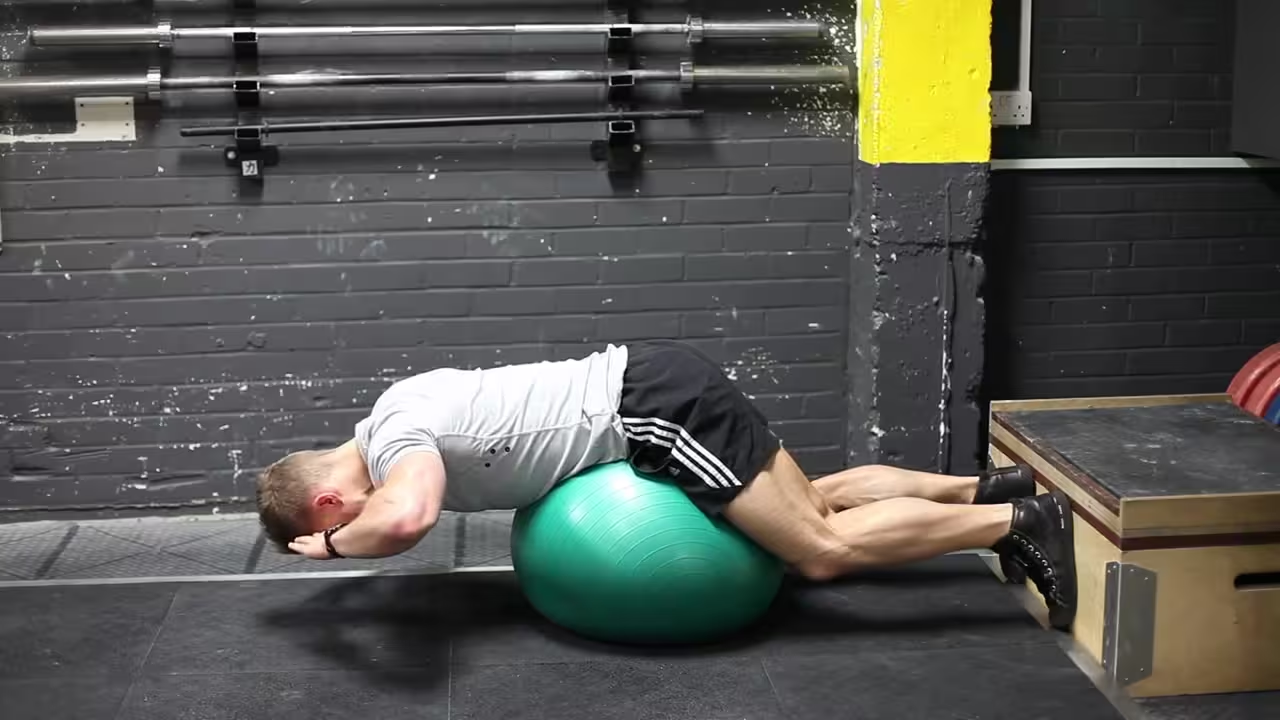
Weighted Ball Hyperextension Instructions
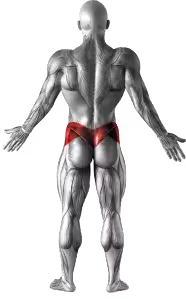
- To begin, lie down on an exercise ball with your torso pressing against the ball and parallel to the floor. The ball of your feet should be pressed against the floor to help keep you balanced. Place a weighted plate under your chin or behind your neck. This is the starting position.
- Slowly raise your torso up by bending at the waist and lower back. Remember to exhale during this movement.
- Hold the contraction on your lower back for a second and lower your torso back down to the starting position while inhaling.
- Repeat for the recommended amount of repetitions prescribed in your program.
24
Jun
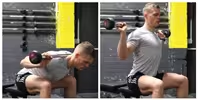
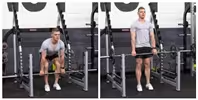
The Seated Good Morning is an effective lower back and hamstring exercise that strengthens the posterior chain. By sitting on a bench with a barbell across your upper back, you isolate the muscles of the lower back, glutes, and hamstrings. The movement helps improve flexibility and strength in the hamstrings and lower back, making it an excellent choice for anyone looking to build strength and improve posture.
Seated Good Morning Video
How to Perform Seated Good Mornings
Seated Good Morning Images
Step-by-Step Instructions:
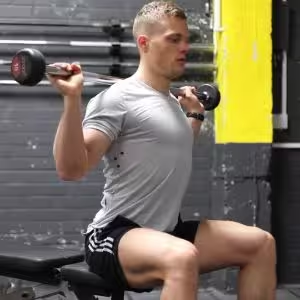
- Set Up the Bench: Sit on a bench with your feet flat on the floor. Place a barbell across your upper back (not your neck) with a comfortable grip.
- Choose the Right Weight: Select a weight that you can manage with proper form. Start light to avoid overloading your lower back.
- Brace Your Core: Engage your core muscles and keep your chest up, maintaining a neutral spine throughout the movement.
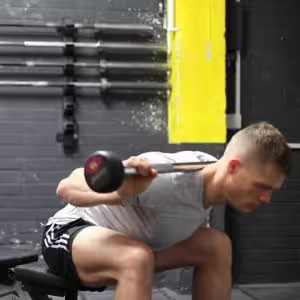
- Begin the Movement: Hinge forward from your hips, lowering your torso towards the floor while keeping your back straight.
- Return to Starting Position: Reverse the movement, pushing through your glutes and hamstrings to return to the starting position.
- Complete the Reps: Perform the movement for your desired number of reps, ensuring you maintain control and proper form throughout.
Seated Good Morning Benefits
- Strengthens Posterior Chain: The Seated Good Morning targets the hamstrings, glutes, and lower back, strengthening the entire posterior chain.
- Improved Flexibility: Regularly performing this exercise can increase flexibility in the hamstrings and lower back.
- Better Posture: Strengthening the lower back and core improves overall posture and helps reduce lower back pain.
- Enhanced Stability: This exercise builds stability and control in the hips and lower back, supporting other compound lifts.
- Reduced Injury Risk: Strengthening the posterior chain helps to reduce the risk of injuries, especially in the lower back.
Seated Good Morning Muscles Worked
Targeted Muscles
The Seated Good Morning primarily targets the hamstrings, glutes, and lower back (erector spinae). Secondary muscles involved include the core and hip flexors, which help stabilize the movement throughout the exercise.
Related Exercises
24
Jun
Rack%20Pulls
8.3
Excellent
Rack Pulls Images
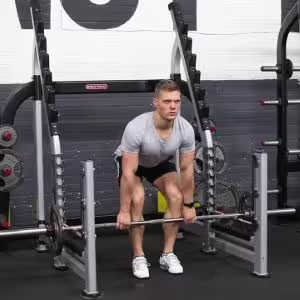

Rack Pulls Instructions
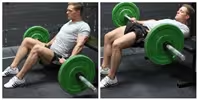
- Set up in a power rack with the bar on the pins. The pins should be set to the desired point; just below the knees, just above, or in the mid thigh position. Position yourself against the bar in proper deadlifting position. Your feet should be under your hips, your grip shoulder width, back arched, and hips back to engage the hamstrings. Since the weight is typically heavy, you may use a mixed grip, a hook grip, or use straps to aid in holding the weight.
- With your head looking forward, extend through the hips and knees, pulling the weight up and back until lockout. Be sure to pull your shoulders back as you complete the movement.
- Return the weight to the pins and repeat.
24
Jun
9.4
Excellent
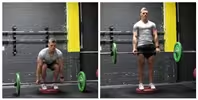
Deficit Deadlift Images
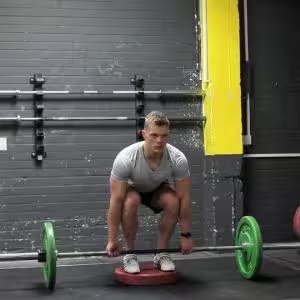
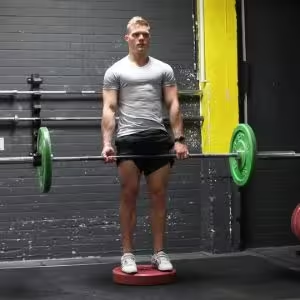
Deficit Deadlift Instructions
- Begin by having a platform or weight plates that you can stand on, usually 1-3 inches in height. Approach the bar so that it is centered over your feet. You feet should be about hip width apart. Bend at the hip to grip the bar at shoulder width, allowing your shoulder blades to protract. Typically, you would use an overhand grip or an over/under grip on heavier sets.
- With your feet, and your grip set, take a big breath and then lower your hips and bend the knees until your shins contact the bar. Look forward with your head, keep your chest up and your back arched, and begin driving through the heels to move the weight upward. After the bar passes the knees, aggressively pull the bar back, pulling your shoulder blades together as you drive your hips forward into the bar.
- Lower the bar by bending at the hips and guiding it to the floor.
24
Jun
Axle%20Deadlift
9.1
Excellent
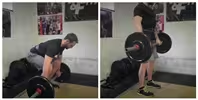
Axle Deadlift Images
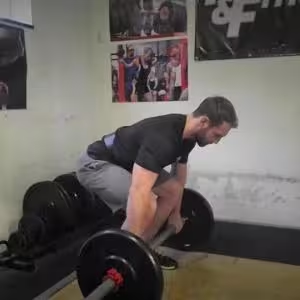
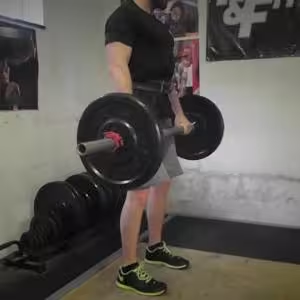
Axle Deadlift Instructions
- Approach the bar so that it is centered over your feet. You feet should be about hip width apart. Bend at the hip to grip the bar at shoulder width, allowing your shoulder blades to protract. Typically, you would use an over/under grip.
- With your feet and your grip set, take a big breath and then lower your hips and flex the knees until your shins contact the bar. Look forward with your head, keep your chest up and your back arched, and begin driving through the heels to move the weight upward.
- After the bar passes the knees, aggressively pull the bar back, pulling your shoulder blades together as you drive your hips forward into the bar.
- Lower the bar by bending at the hips and guiding it to the floor.

24
Jun
8.8
Excellent
Standing Dumbbell Calf Raise Images
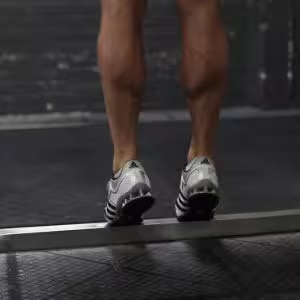
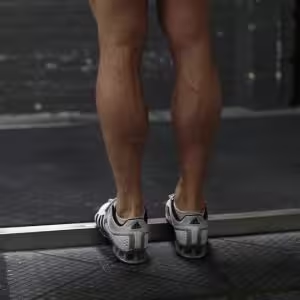
Standing Dumbbell Calf Raise Instructions

- Stand with your torso upright holding two dumbbells in your hands by your sides. Place the ball of the foot on a sturdy and stable wooden board (that is around 2-3 inches tall) while your heels extend off and touch the floor. This will be your starting position.
- With the toes pointing either straight (to hit all parts equally), inwards (for emphasis on the outer head) or outwards (for emphasis on the inner head), raise the heels off the floor as you exhale by contracting the calves. Hold the top contraction for a second.
- As you inhale, go back to the starting position by slowly lowering the heels.
- Repeat for the recommended amount of times.
24
Jun
6.4
Good
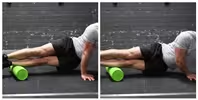
Peroneals-SMR Images
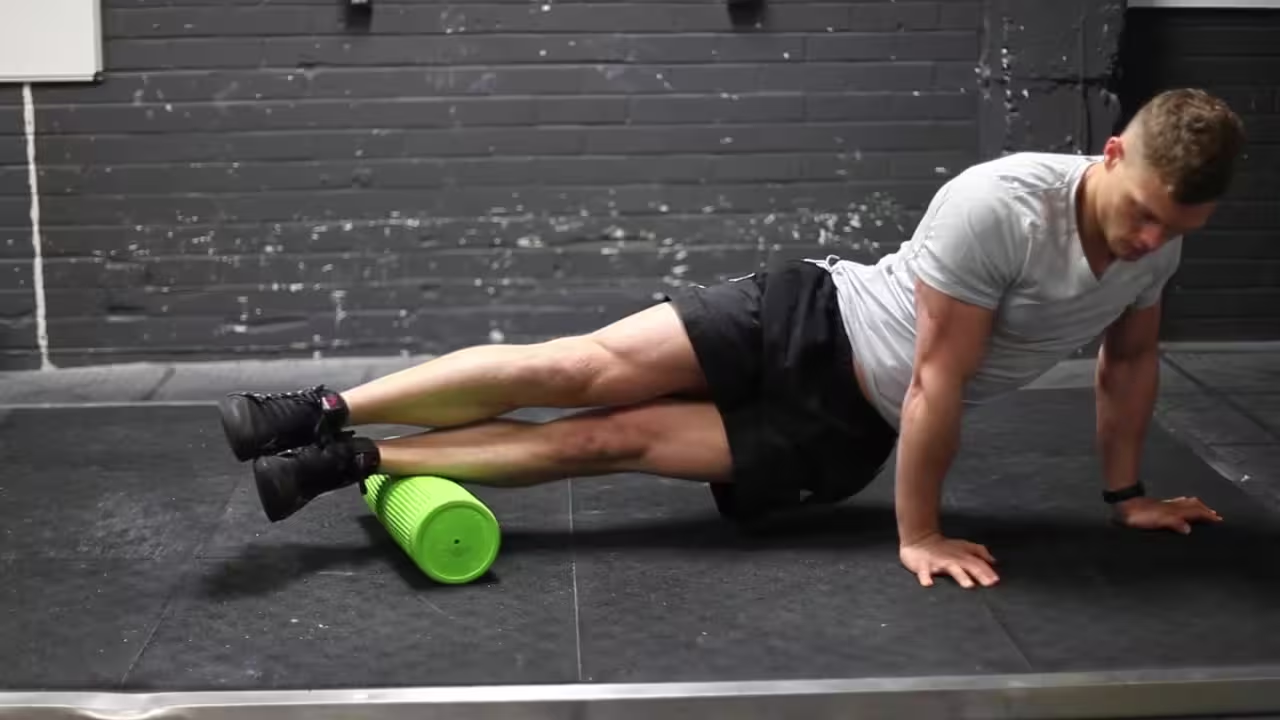
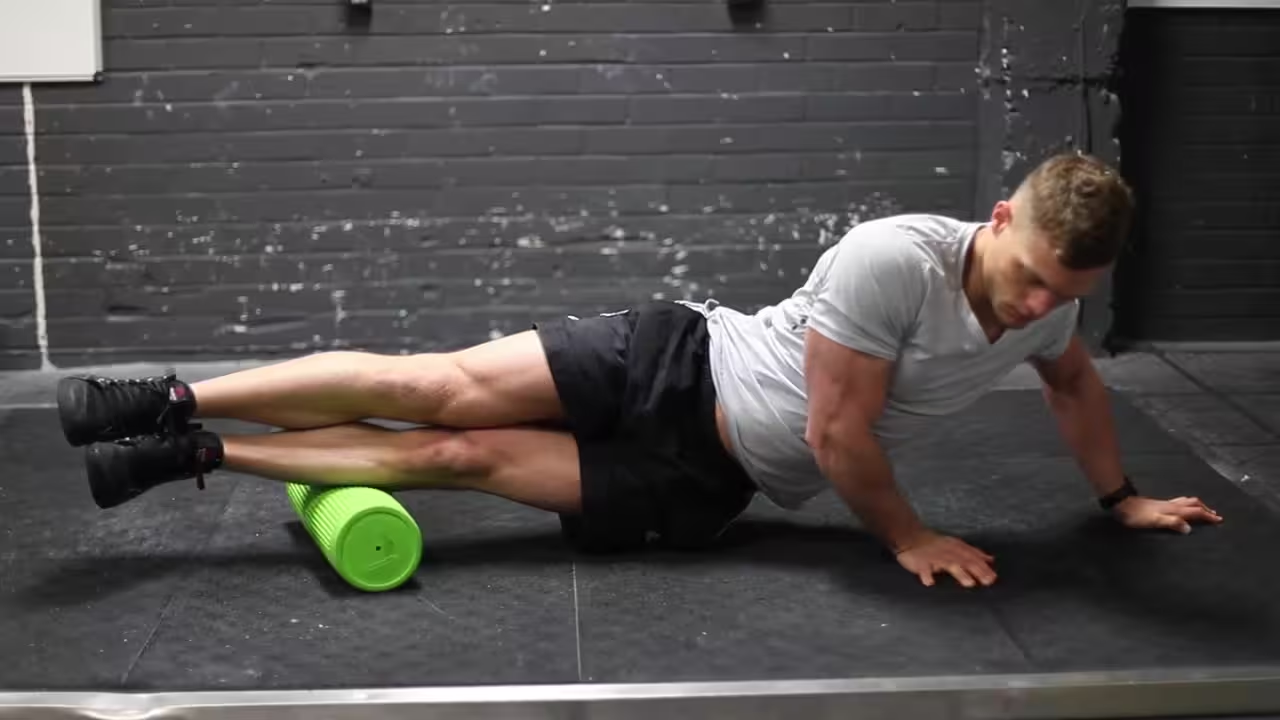
Peroneals-SMR Instructions
- Lay on your side, supporting your weight on your forearm and on a foam roller placed on the outside of your lower leg. Your upper leg can either be on top of your lower leg, or you can cross it in front of you. This will be your starting position.
- Raise your hips off of the ground and begin to roll from below the knee to above the ankle on the side of your leg, pausing at points of tension for 10-30 seconds. Repeat on the other leg.
24
Jun
6
Good
Calves-SMR Images
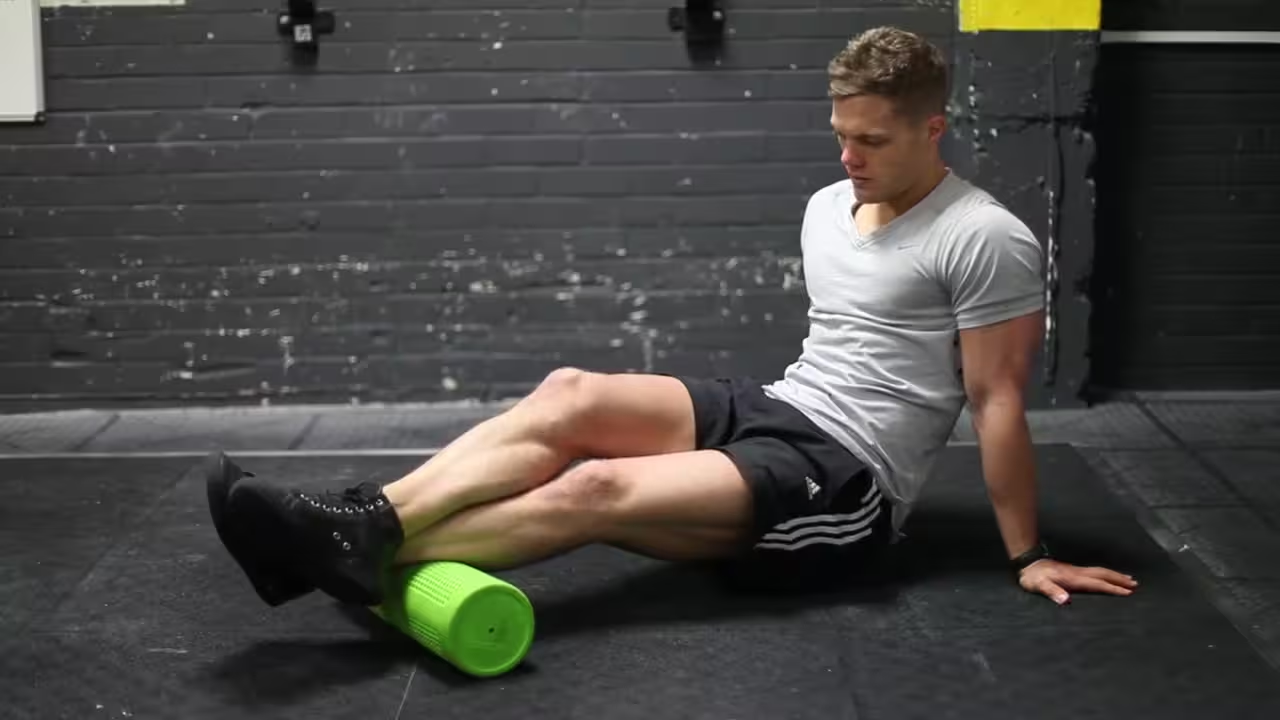
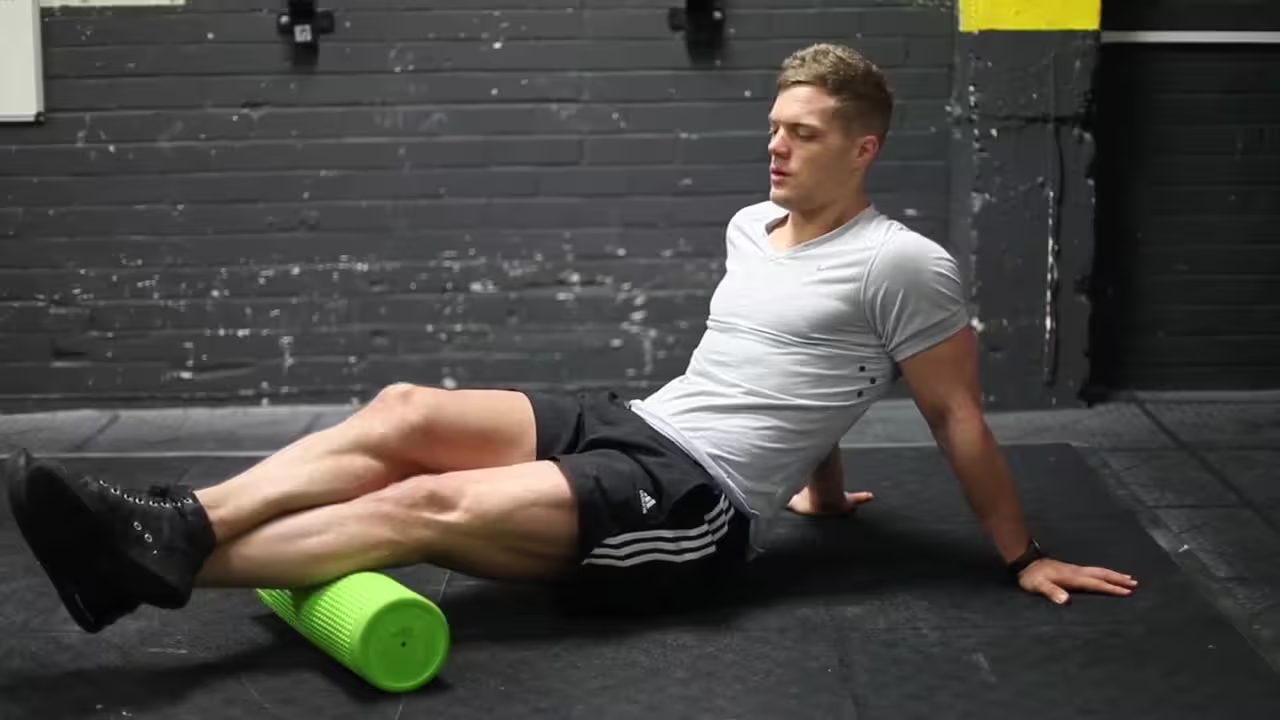
Calves-SMR Instructions
- Begin seated on the floor. Place a foam roller underneath your lower leg. Your other leg can either be crossed over the opposite or be placed on the floor, supporting some of your weight. This will be your starting position.
- Place your hands to your side or just behind you, and press down to raise your hips off of the floor, placing much of your weight against your calf muscle. Roll from below the knee to above the ankle, pausing at points of tension for 10-30 seconds. Repeat for the other leg.

24
Jun
7.4
Good
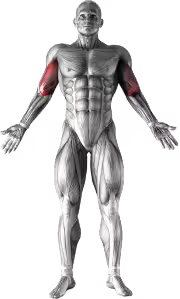
Standing Inner-Biceps Curl Images
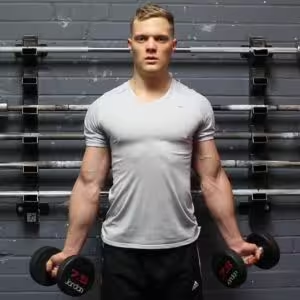

Standing Inner-Biceps Curl Instructions
- Stand up with a dumbbell in each hand being held at arms length. The elbows should be close to the torso. Your legs should be at about shoulder’s width apart from each other.
- Rotate the palms of the hands so that they are facing inward in a neutral position. This will be your starting position.
- While holding the upper arms stationary, curl the weights out while contracting the biceps as you breathe out. Your wrist should turn so that when the weights are fully elevated you have supinated grip (palms facing up).
- Only the forearms should move. Continue the movement until your biceps are fully contracted and the dumbbells are at shoulder level. Tip: Keep the forearms aligned with your outer deltoids.
- Hold the contracted position for a second as you squeeze the biceps.
- Slowly begin to bring the dumbbells back to the starting position as your breathe in. Remember to rotate the wrists as you lower the weight in order to switch back to a neutral grip.
- Repeat for the recommended amount of repetitions.