The Decline Crunch is an effective abdominal exercise that targets the upper and lower abs. By performing the crunch at a declined angle, this variation increases the difficulty, helping to engage the core more intensively. Decline Crunches are a great addition to any workout routine focused on building core strength and achieving toned abs.
Decline Crunch Video
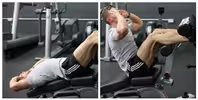
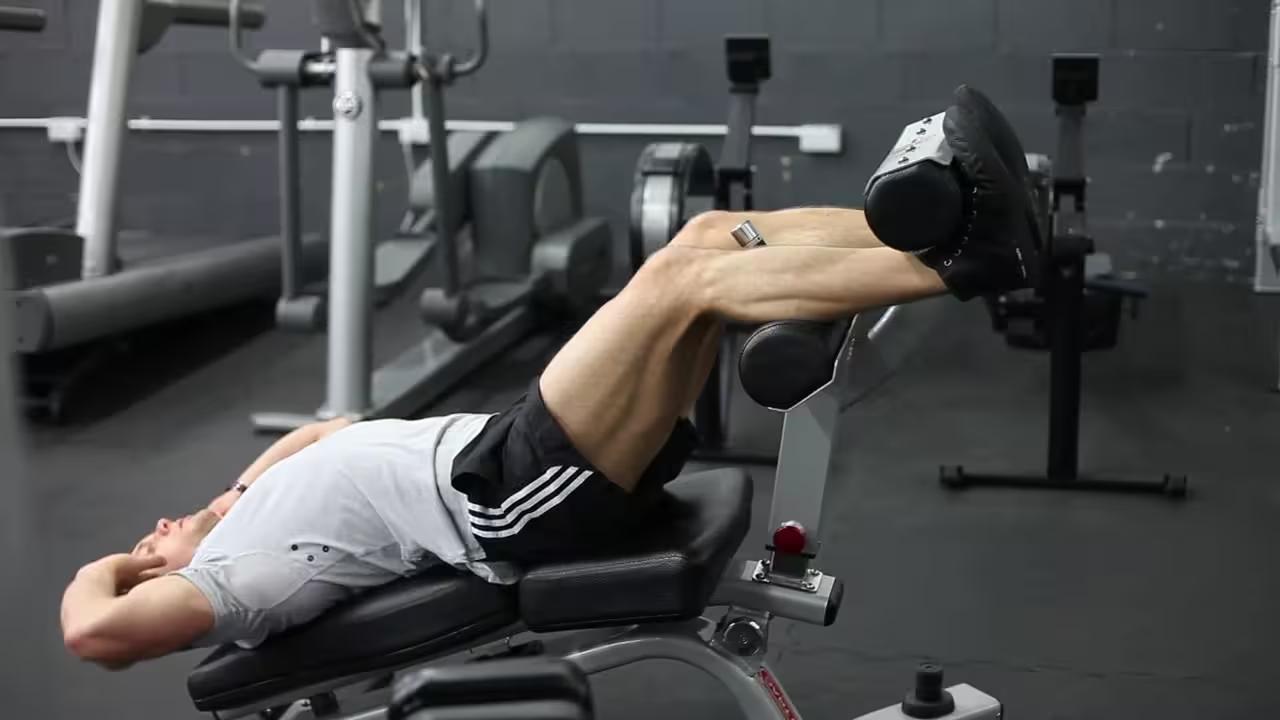
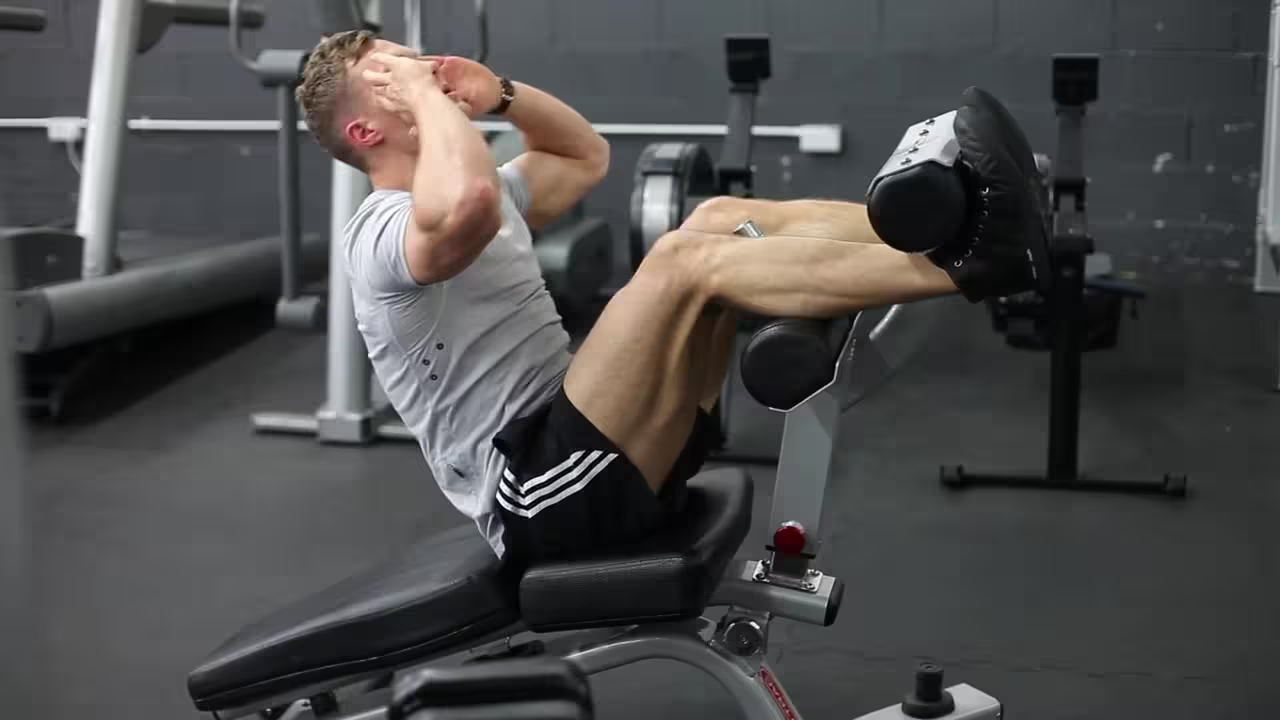
How to Perform Decline Crunches
Step-by-Step Instructions:
- Set Up the Bench: Adjust the decline bench to your preferred angle. Secure your feet at the top of the bench and lie down with your back on the inclined surface.
- Engage Your Core: Place your hands behind your head or across your chest. Engage your core muscles as you prepare to lift your upper body.
- Crunch Up: Lift your upper body towards your knees, exhaling as you contract your abs. Focus on using your abdominal muscles, not your neck or shoulders.
- Control the Descent: Lower your torso back down in a controlled motion, maintaining tension in your abs throughout the movement.
- Complete the Reps: Repeat the movement for your desired number of repetitions, ensuring proper form throughout the set.
Decline Crunch Benefits
- Targeted Abdominal Activation: Decline crunches engage both the upper and lower abs, enhancing muscle activation and strength development.
- Improved Core Strength: This exercise helps to build a stronger core, which is essential for overall stability and athletic performance.
- Better Posture: Stronger abdominal muscles contribute to better posture, reducing the risk of back pain.
- Enhanced Muscle Definition: By focusing on the abs, decline crunches help to achieve a more defined and toned midsection.
- Higher Intensity: The decline angle increases the intensity of the crunch, making it more challenging and effective compared to standard crunches.
Decline Crunch Muscles Worked
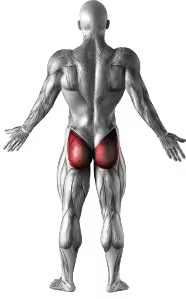
The Decline Crunch primarily targets the rectus abdominis (the “six-pack” muscles). It also engages the obliques and hip flexors for stabilization during the movement, helping to strengthen the entire core region.

Related Exercises
8.3
Excellent
Barbell Rollout from Bench Images
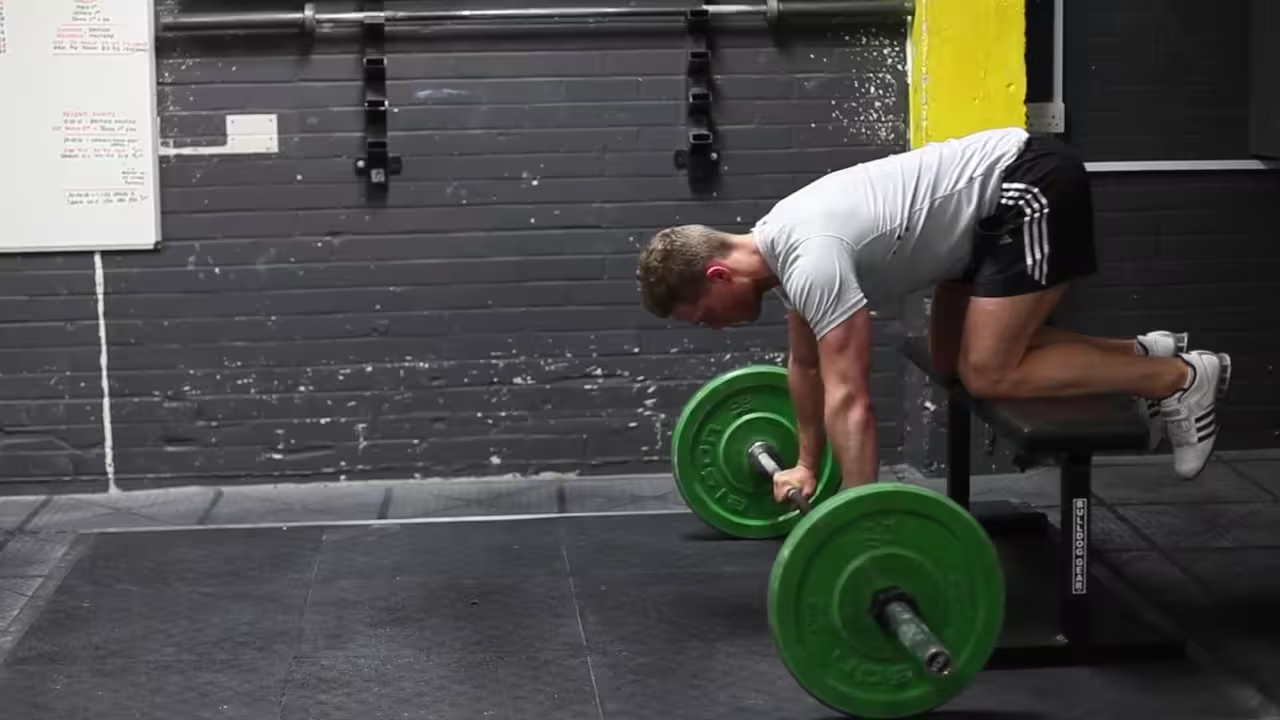
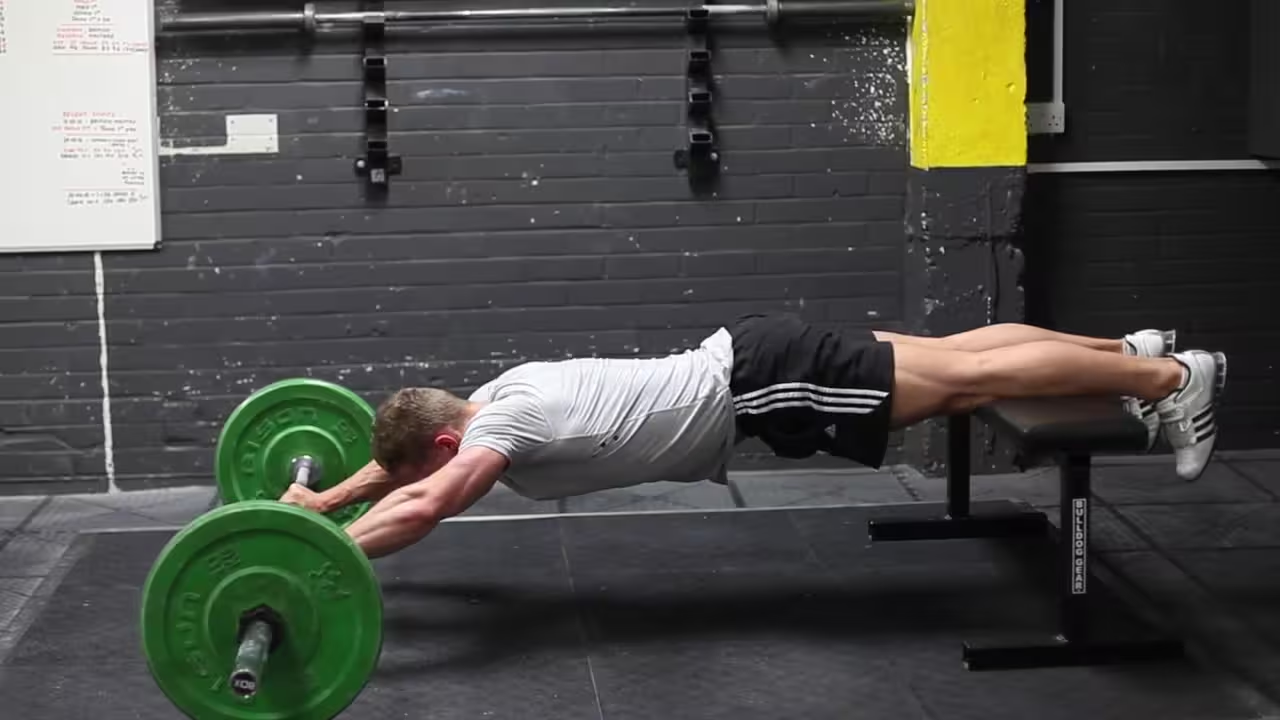
Barbell Rollout from Bench Instructions
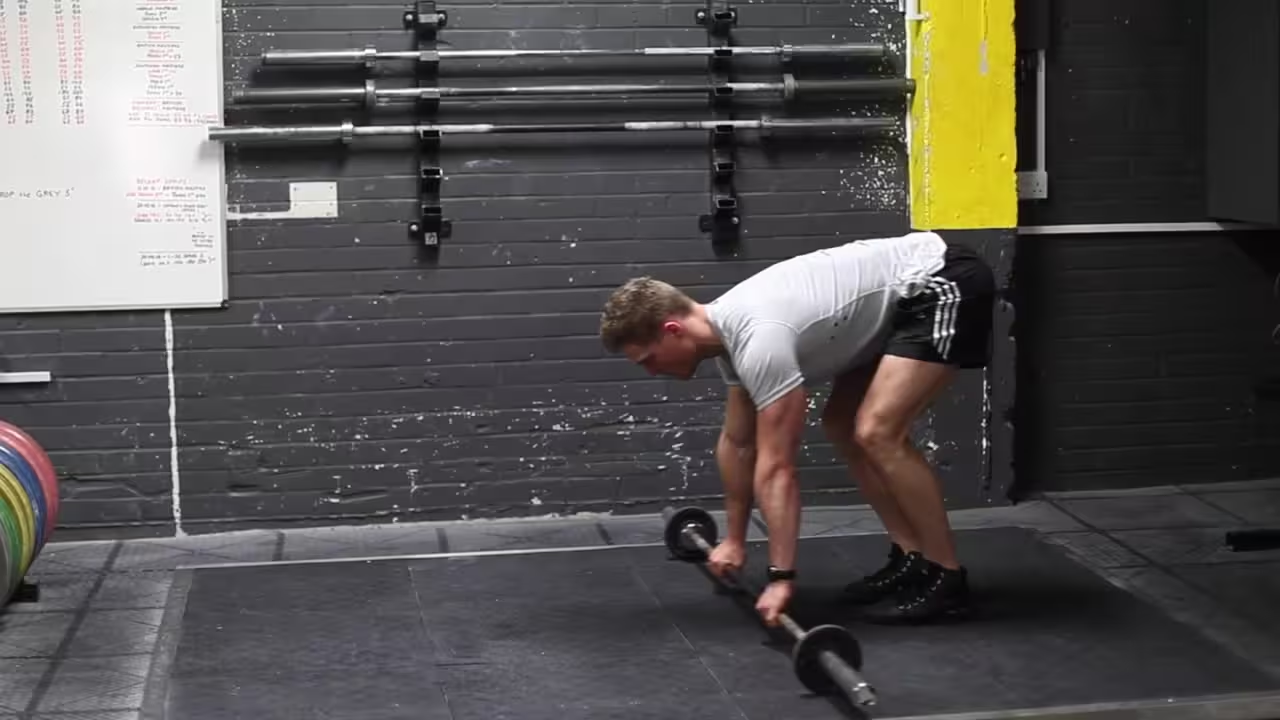
- Place a loaded barbell on the ground, near the end of a bench. Kneel with both legs on the bench, and take a medium to narrow grip on the barbell. This will be your starting position.
- To begin, extend through the hips to slowly roll the bar forward. As you roll out, flex the shoulder to roll the bar above your head. Ensure that your arms remain extended throughout the movement.
- When the bar has been moved as far forward as possible, return to the starting position.
8.9
Excellent
Barbell Ab Rollout Images
Barbell Ab Rollout Instructions
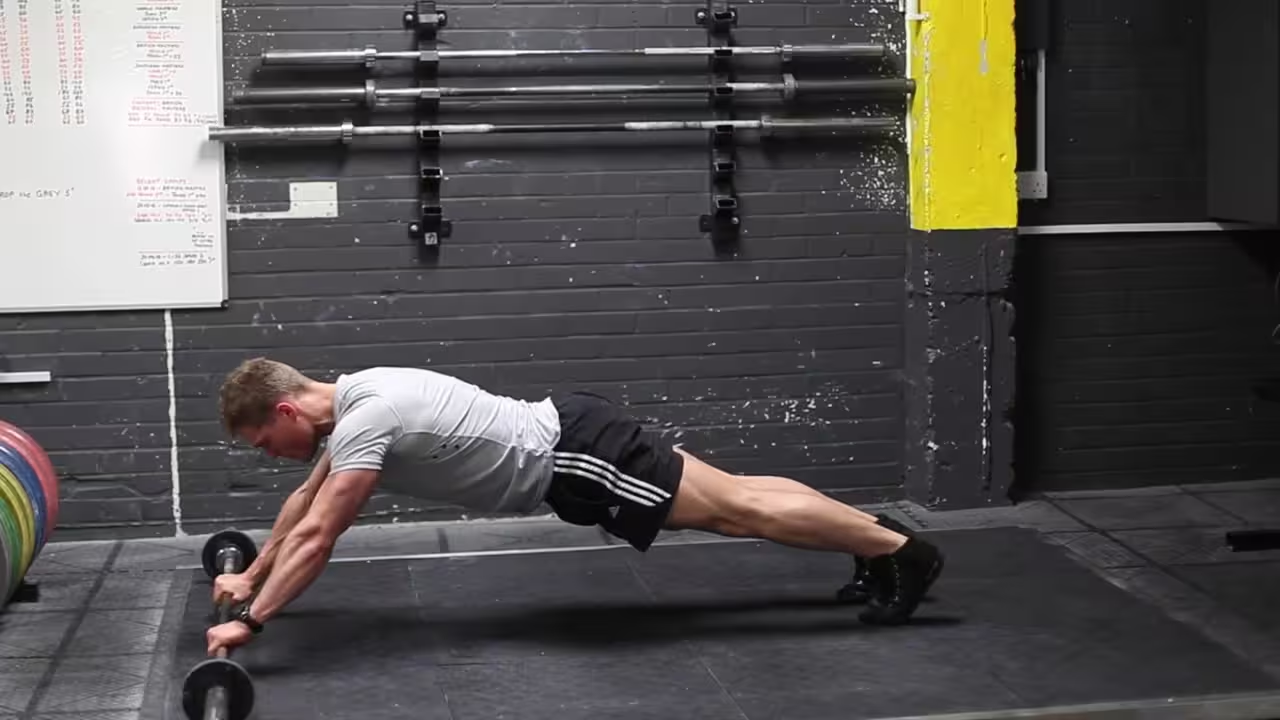
- For this exercise you will need to get into a pushup position, but instead of having your hands of the floor, you will be grabbing on to an Olympic barbell (loaded with 5-10 lbs on each side) instead. This will be your starting position.
- While keeping a slight arch on your back, lift your hips and roll the barbell towards your feet as you exhale. Tip: As you perform the movement, your glutes should be coming up, you should be keeping the abs tight and should maintain your back posture at all times. Also your arms should be staying perpendicular to the floor throughout the movement. If you don’t, you will work out your shoulders and back more than the abs.
- After a second contraction at the top, start to roll the barbell back forward to the starting position slowly as you inhale.
- Repeat for the recommended amount of repetitions.
Piriformis-SMR
6.6
Good
Piriformis-SMR Images

Piriformis-SMR Instructions
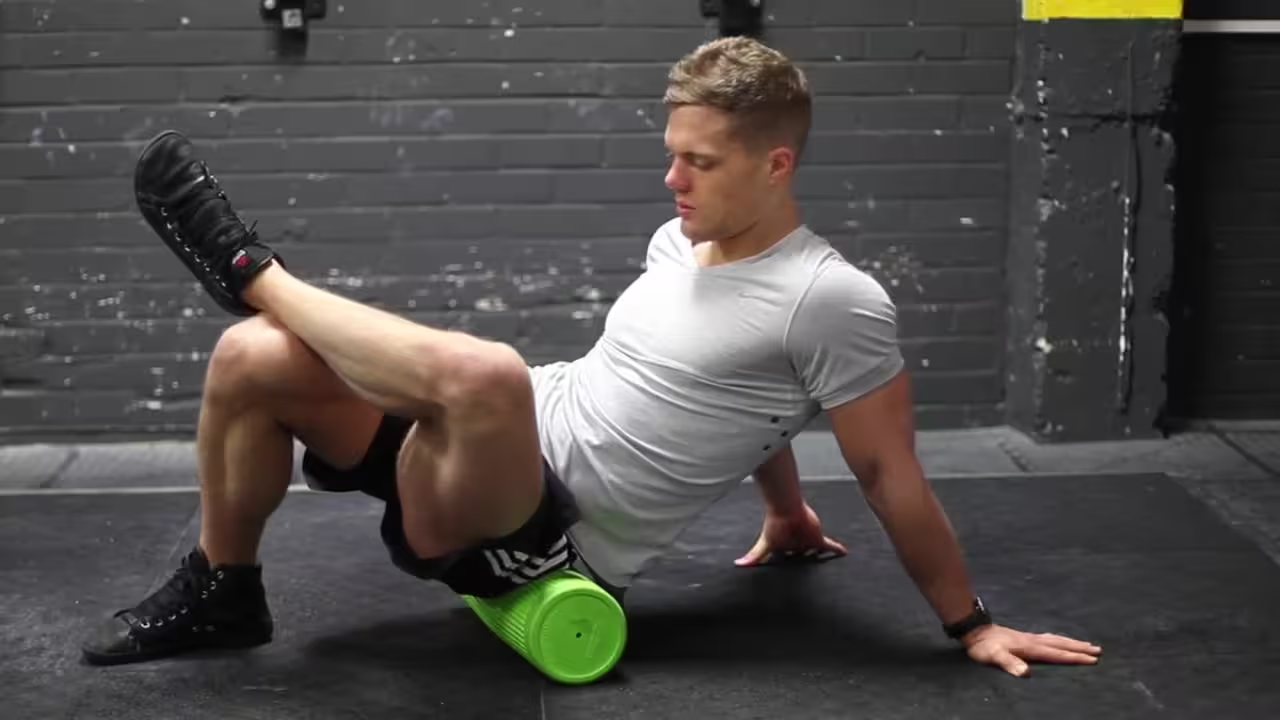
- Sit with your buttocks on top of a foam roll. Bend your knees, and then cross one leg so that the ankle is over the knee. This will be your starting position.
- Shift your weight to the side of the crossed leg, rolling over the buttocks until you feel tension in your upper glute. You may assist the stretch by using one hand to pull the bent knee towards your chest. Hold this position for 10-30 seconds, and then switch sides.
One-Legged%20Cable%20Kickback
9
Excellent
One-Legged Cable Kickback Images

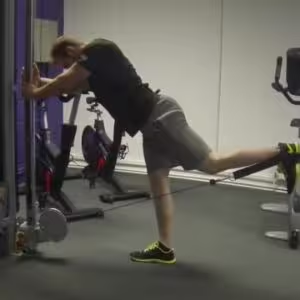
One-Legged Cable Kickback Instructions
- Hook a leather ankle cuff to a low cable pulley and then attach the cuff to your ankle.
- Face the weight stack from a distance of about two feet, grasping the steel frame for support.
- While keeping your knees and hips bent slightly and your abs tight, contract your glutes to slowly kick the working leg back in a semicircular arc as high as it will comfortably go as you breathe out. Tip: At full extension, squeeze your glutes for a second in order to achieve a peak contraction.
- Now slowly bring your working leg forward, resisting the pull of the cable until you reach the starting position.
- Repeat for the recommended amount of repetitions.
- Switch legs and repeat the movement for the other side.
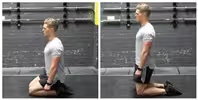
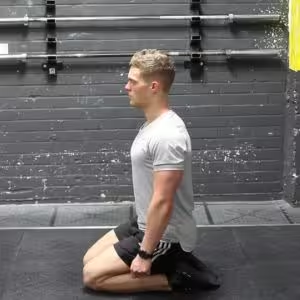
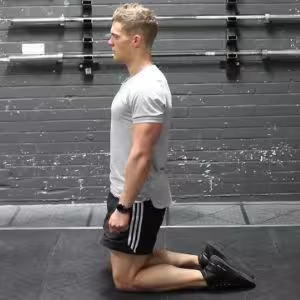
The Kneeling Squat is a lower-body exercise that focuses on activating the glutes while minimizing strain on the knees. By performing this movement in a kneeling position, the emphasis is shifted away from the quadriceps and placed directly on the glutes and hamstrings. This exercise is ideal for those looking to build glute strength, improve hip mobility, and add variety to their workout routine.
Kneeling Squat Video
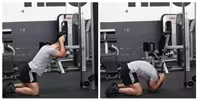
How to Perform Kneeling Squats
Step-by-Step Instructions:
- Prepare Your Mat: Use a soft surface or a mat to protect your knees and ensure comfort during the exercise.
- Select Your Weight: Hold a barbell, dumbbell, or keep the movement bodyweight-based depending on your fitness level.
- Get into Position: Kneel on the mat with your knees hip-width apart, maintaining an upright torso.
- Engage Your Glutes: Hinge your hips backward, then push your hips forward to return to an upright position, squeezing your glutes at the top.
- Control the Movement: Keep the motion slow and controlled, avoiding any jerking movements.
- Complete the Reps: Perform the desired number of repetitions, focusing on proper form and glute activation.
Kneeling Squat Benefits
- Glute Activation: Kneeling Squats target the glutes more effectively by minimizing quadriceps involvement.
- Improved Hip Mobility: This exercise helps enhance hip flexibility and range of motion.
- Low Impact on Knees: Performing squats in a kneeling position reduces stress on the knee joint, making it suitable for individuals with knee discomfort.
- Core Engagement: Maintaining an upright posture during the movement activates the core muscles.
- Functional Strength: Builds strength that translates into better performance in other lower-body exercises and daily activities.
Kneeling Squat Muscles Worked
The Kneeling Squat primarily targets the gluteus maximus while engaging the hamstrings and core for stability. The reduced quadriceps involvement ensures focused glute activation, making it an effective isolation exercise for the posterior chain.
Related Exercises
9.1
Excellent
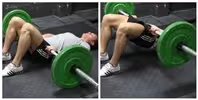
Barbell Hip Thrust Images
Barbell Hip Thrust Instructions
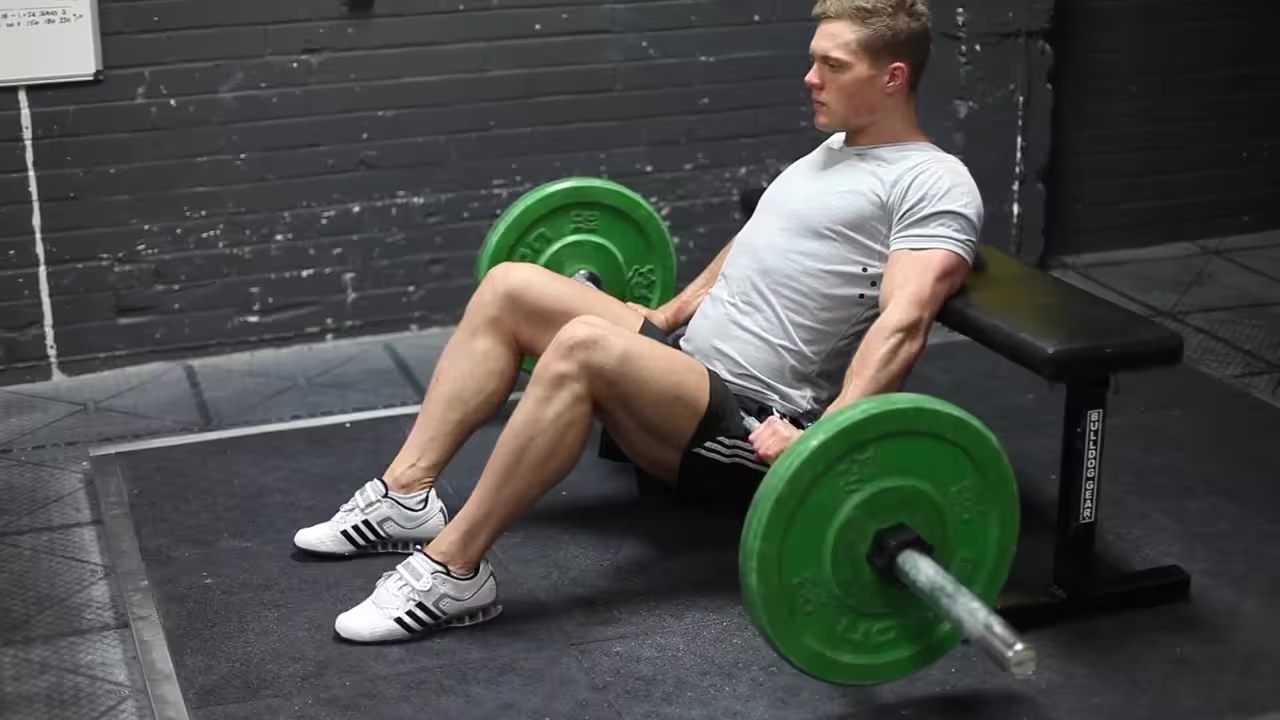
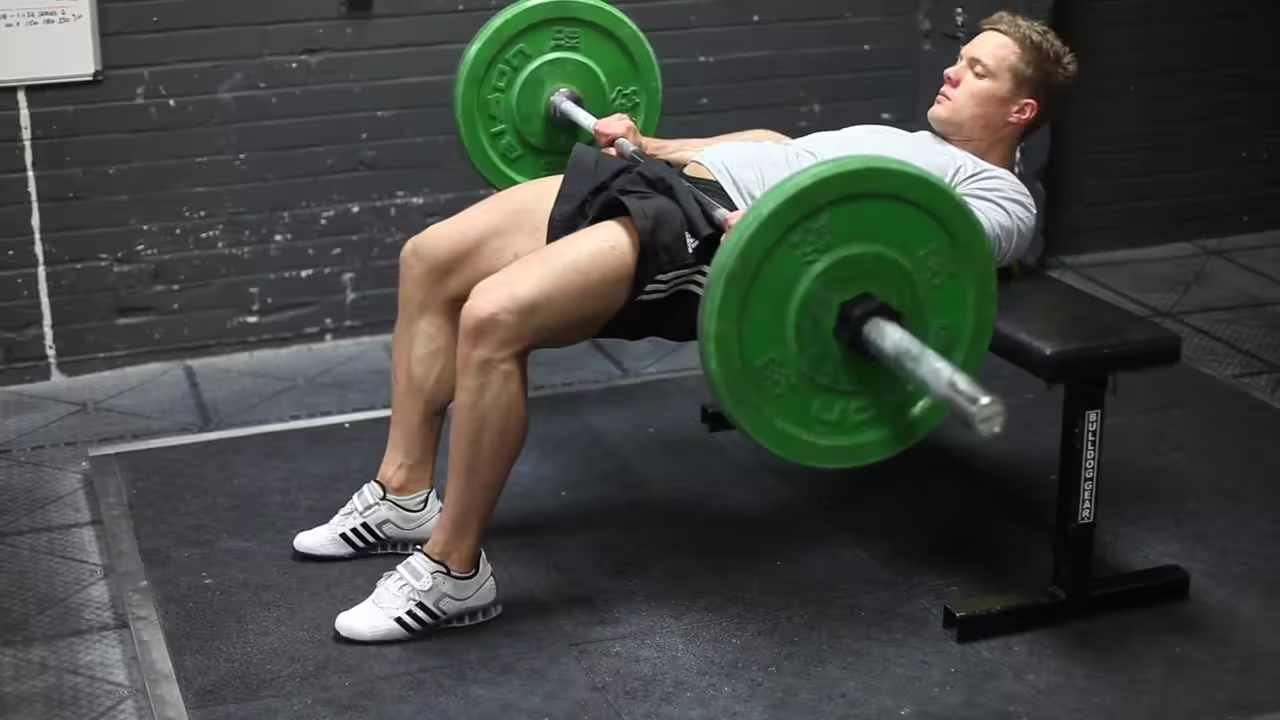
- Begin seated on the ground with a bench directly behind you. Have a loaded barbell over your legs. Using a fat bar or having a pad on the bar can greatly reduce the discomfort caused by this exercise.
- Roll the bar so that it is directly above your hips, and lean back against the bench so that your shoulder blades are near the top of it.
- Begin the movement by driving through your feet, extending your hips vertically through the bar. Your weight should be supported by your shoulder blades and your feet. Extend as far as possible, then reverse the motion to return to the starting position.
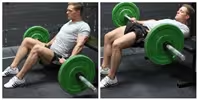
The Barbell Glute Bridge is a powerful exercise that primarily targets the glutes while also engaging the hamstrings and lower back. This compound movement is excellent for strengthening and sculpting the posterior chain, and can improve overall hip mobility. The addition of a barbell allows for increased resistance, making it an effective exercise for building muscle mass and strength in the glutes and surrounding muscles. The Barbell Glute Bridge is a must-have in any leg or glute workout routine.
Barbell Glute Bridge Video
How to Perform Barbell Glute Bridges

Step-by-Step Instructions:
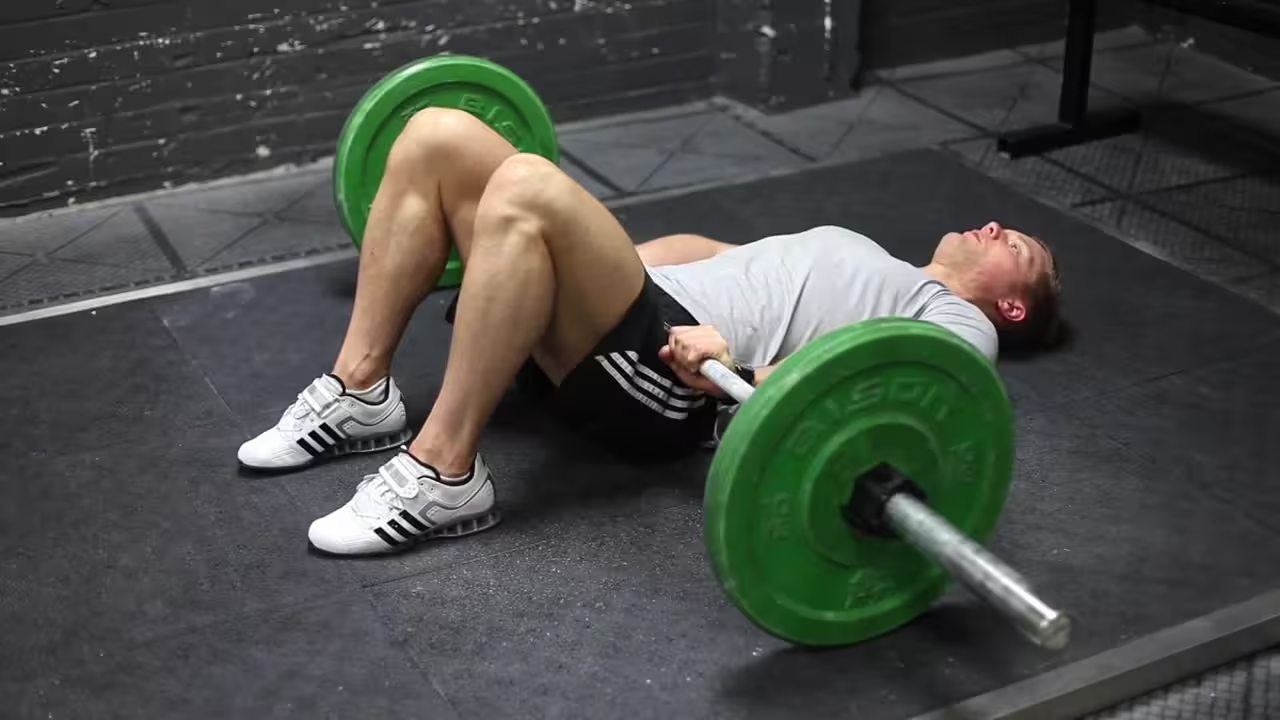
- Set Up the Barbell: Position the barbell over your hips, ensuring it is evenly weighted. Lie on the floor with your feet flat on the ground and your knees bent.
- Position Your Feet: Place your feet hip-width apart and ensure that your heels are close enough to your glutes that you can fully extend your hips when lifting the barbell.
- Brace Your Core: Engage your core to protect your lower back and maintain a neutral spine throughout the movement.
- Lift the Barbell: Drive through your heels to lift your hips towards the ceiling, squeezing your glutes at the top of the movement. Keep your shoulders and head on the floor, and avoid overextending your lower back.
- Lower Slowly: Lower your hips back to the floor in a controlled motion, fully extending your glutes at the bottom without touching the floor.
- Complete the Reps: Repeat the movement for your desired number of reps, ensuring that your glutes are engaged throughout.
Barbell Glute Bridge Benefits
- Increased Glute Strength: The Barbell Glute Bridge is highly effective in building glute strength, contributing to a more powerful posterior chain.
- Improved Hip Mobility: This exercise enhances hip extension and can help alleviate tightness in the hips and lower back.
- Enhanced Glute Hypertrophy: The added resistance of the barbell helps to stimulate muscle growth and size in the glutes.
- Injury Prevention: Strengthening the glutes helps prevent injuries in the lower back and knees by improving movement mechanics.
- Improved Posture: A strong gluteus maximus contributes to better posture and a more aligned spine.
Barbell Glute Bridge Muscles Worked
The Barbell Glute Bridge primarily targets the gluteus maximus, providing a deep contraction at the top of the movement. The hamstrings, quadriceps, and lower back muscles also assist in the movement, with the core being engaged to maintain stability during the exercise.
Related Exercises
8.3
Excellent
Seated One-Arm Dumbbell Palms-Down Wrist Curl Images
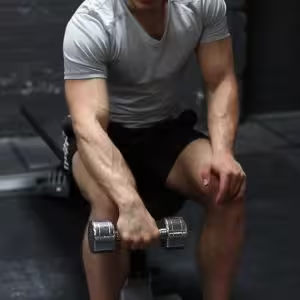
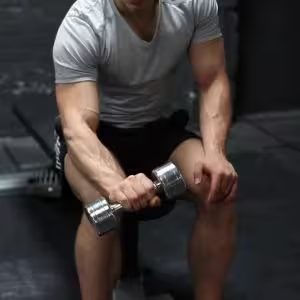
Seated One-Arm Dumbbell Palms-Down Wrist Curl Instructions
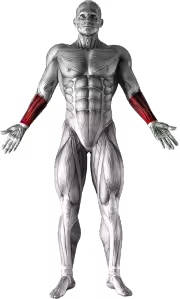
- Sit on a flat bench with a dumbbell in your right hand.
- Place your feet flat on the floor, at a distance that is slightly wider than shoulder width apart.
- Lean forward and place your right forearm on top of your upper right thigh with your palm down. Tip: Make sure that the back of the wrist lies on top of your knees. This will be your starting position.
- Lower the dumbbell as far as possible as you keep a tight grip on the dumbbell. Inhale as you perform this movement.
- Now curl the dumbbell as high as possible as you contract the forearms and as you exhale. Keep the contraction for a second before you lower again. Tip: The only movement should happen at the wrist.
- Perform for the recommended amount of repetitions, switch arms and repeat the movement.
8.3
Excellent
Plate Pinch Images

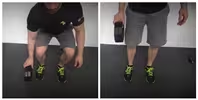
Plate Pinch Instructions
- Grab two wide-rimmed plates and put them together with the smooth sides facing outward
- Use your fingers to grip the outside part of the plate and your thumb for the other side thus holding both plates together. This is the starting position.
- Squeeze the plate with your fingers and thumb. Hold this position for as long as you can.
- Repeat for the recommended amount of sets prescribed in your program.
- Switch arms and repeat the movements.